
For several years I have collected wool sweaters from secondhand shops and felted them so I could make hand-embroidered toys with them. I have quite a bit of wool on hand, so I wanted to start using it up by making some practical items for use around the home.

Felted wool and embroidered potholder
that I made.
As I've been going through my Pinterest boards during Creative Every Day month, I came across a pin about how to make felted wool potholders at Mother Earth News. There's another similar pin that also links to Mother Earth News. However, there are slightly different images of the potholders.
The process I followed is relatively easy. Basically, I cut a 7" x 7" piece of felted wool and cotton fabric. The wool was rather thick, so I only used one layer. If it had been thinner, two pieces of wool would have been better.
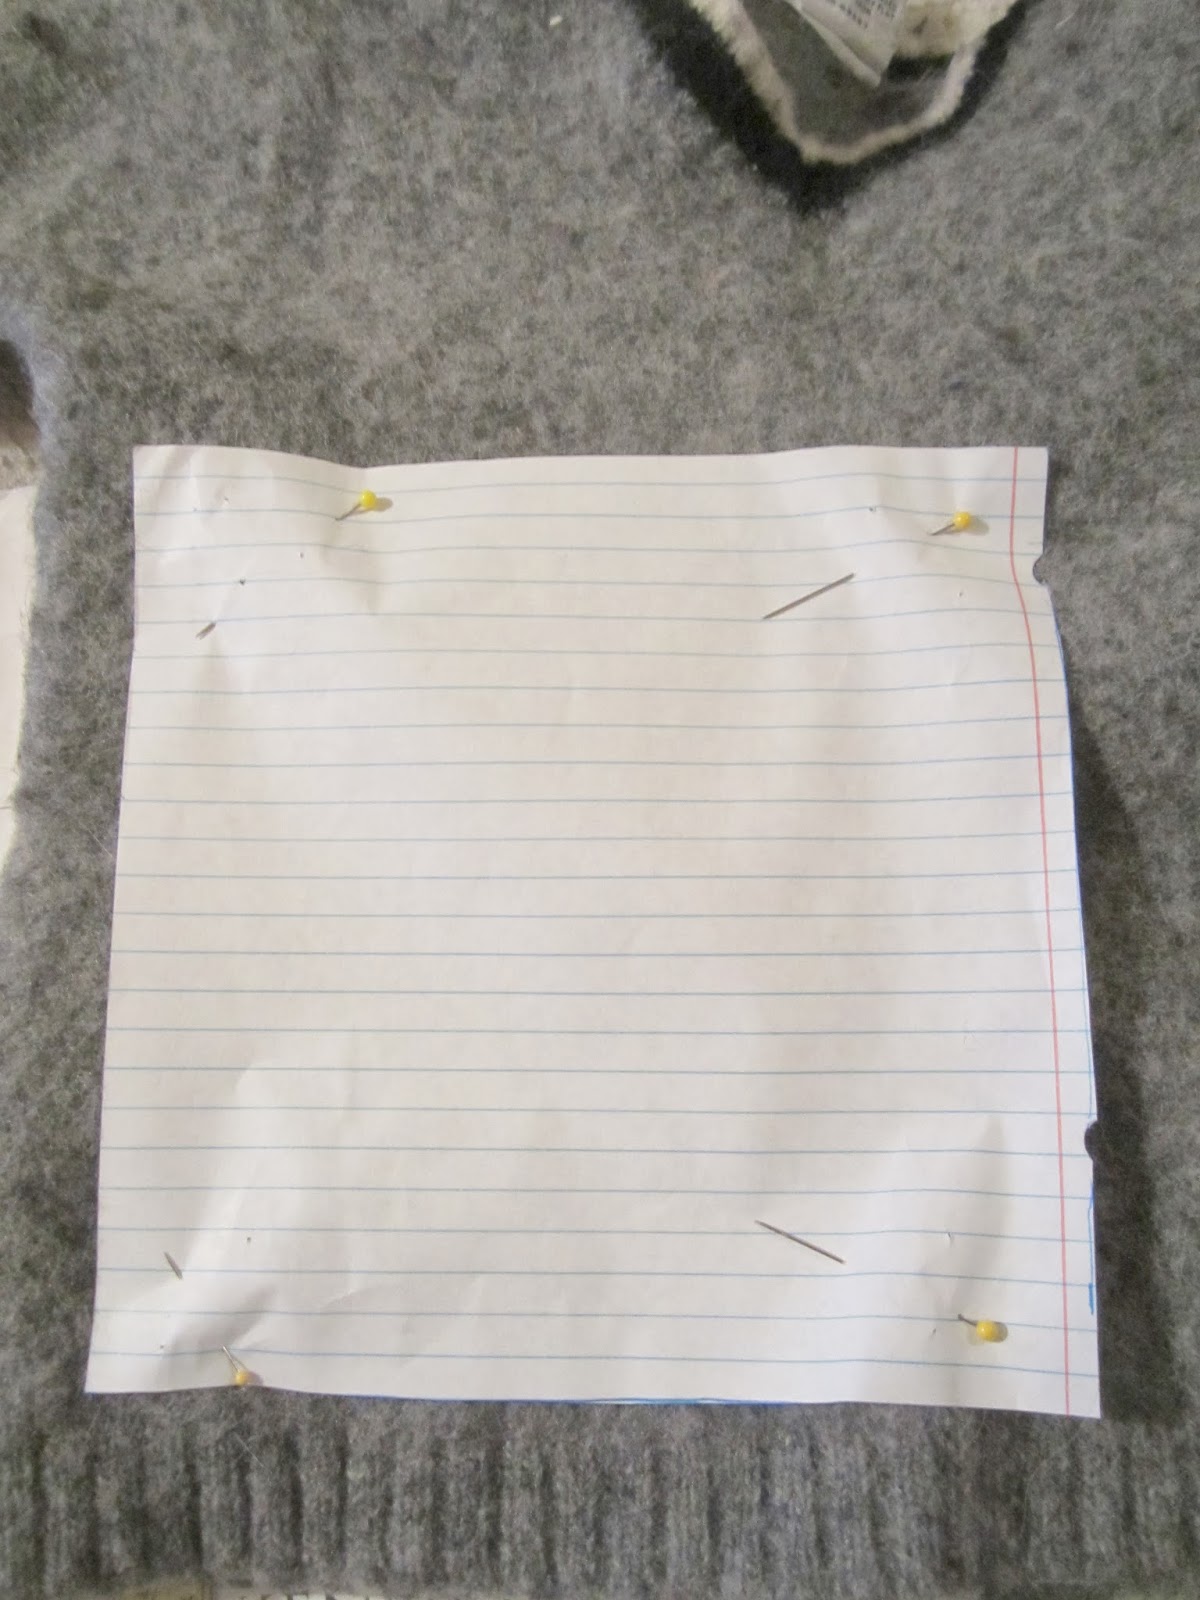
Above: 7-inch square on a felted wool sweater.
Below: 7-inch square on cotton fabric.

I cut out three stars and three curvy lines from black and purple felted wool. I embroidered the stars onto the gray wool using the blanket stitch; and the curvy lines using a straight stitch in a haphazard pattern.

Stitched stars and curvy lines.
I put the wool and cotton fabric so the right sides were facing out.
Then, I turned the long edges of the a 2"x 6" piece of cotton fabric in towards the middle and then did a blind stitch along the edge. I inserted 1 1/2 inches of the two short ends in one corner between the stacked layers.
Next, I pinned around the edges of the potholder.

Blanket-stitching the wool and fabric together.
Using embroidery floss, I secured the loop by making several small stitches through the wool and hanger to secure it in place.

Back of the potholder.
Then, I stitched around the sides of the potholder using the blanket stitch.

Part of both sides of the potholder showing.
Now the potholder is ready to be used.
No comments:
Post a Comment