
Recently, the price of pears went down over 30 cents per pound. I bought a flat of pears, and brought them home to ripen.

Pears ready to be canned.
The pears should be yellow and ripe when they are canned, but not soft. Otherwise, after the pears are processed they will be mushy...and that's not good.
The first step in canning pears is to wash the canning jars and bands in hot, soapy water. Some people wash them in the dishwasher which is fine too.

Canning jars and bands in hot, soapy water.
The next step is to peel and quarter each pear. After each one is cut, immediately place it in a big bowl filled with cold water and a generous amount of Fruit Fresh. This will keep the pears a light color and not have them discolored.

Quartered pears in a large bowl
filled with water and Fruit Fresh.
As you're nearing the end of the first level of pears in the flat, fill the canner with hot water. Do not fill it to the top since canning jars will be placed in it. For four quarts of pears, I filled the canner about 2/3 the way full. Keep the handles of the wire rack on the edge of the canner.
Also, this is the time to make the canning syrup. I used a light syrup - 5 3/4 water to 1 1/2 cups granulated sugar. This needs to come to a boil.
Now, remove the jars from the sink and rinse with very hot water. This is the time to visually inspect and tour the jars - especially the top - to make sure there aren't any cracks or chips.
Add the pears so that the cut side is down. There may be a reason to do this beyond the visual look of orderliness...but I don't why that's recommended. Perhaps it conserves space.
Anyway...once the jars are filled with the quartered pears, fill them with the hot sugar syrup. The liquid should go up to about 1/2" of the top of the jar and all the pears should be covered.
It is important to leave space because the liquid will boil within the jar during the canning process. If there's no room, the jar will burst.
Next, wipe off each of the jar tops so there is no syrup or pear matter on the edge. This is very important. If there is a barrier between the lid and the jar...it won't seal. I use a paper towel to clean the jar rims.

Cleaning the rim of one of the jars.
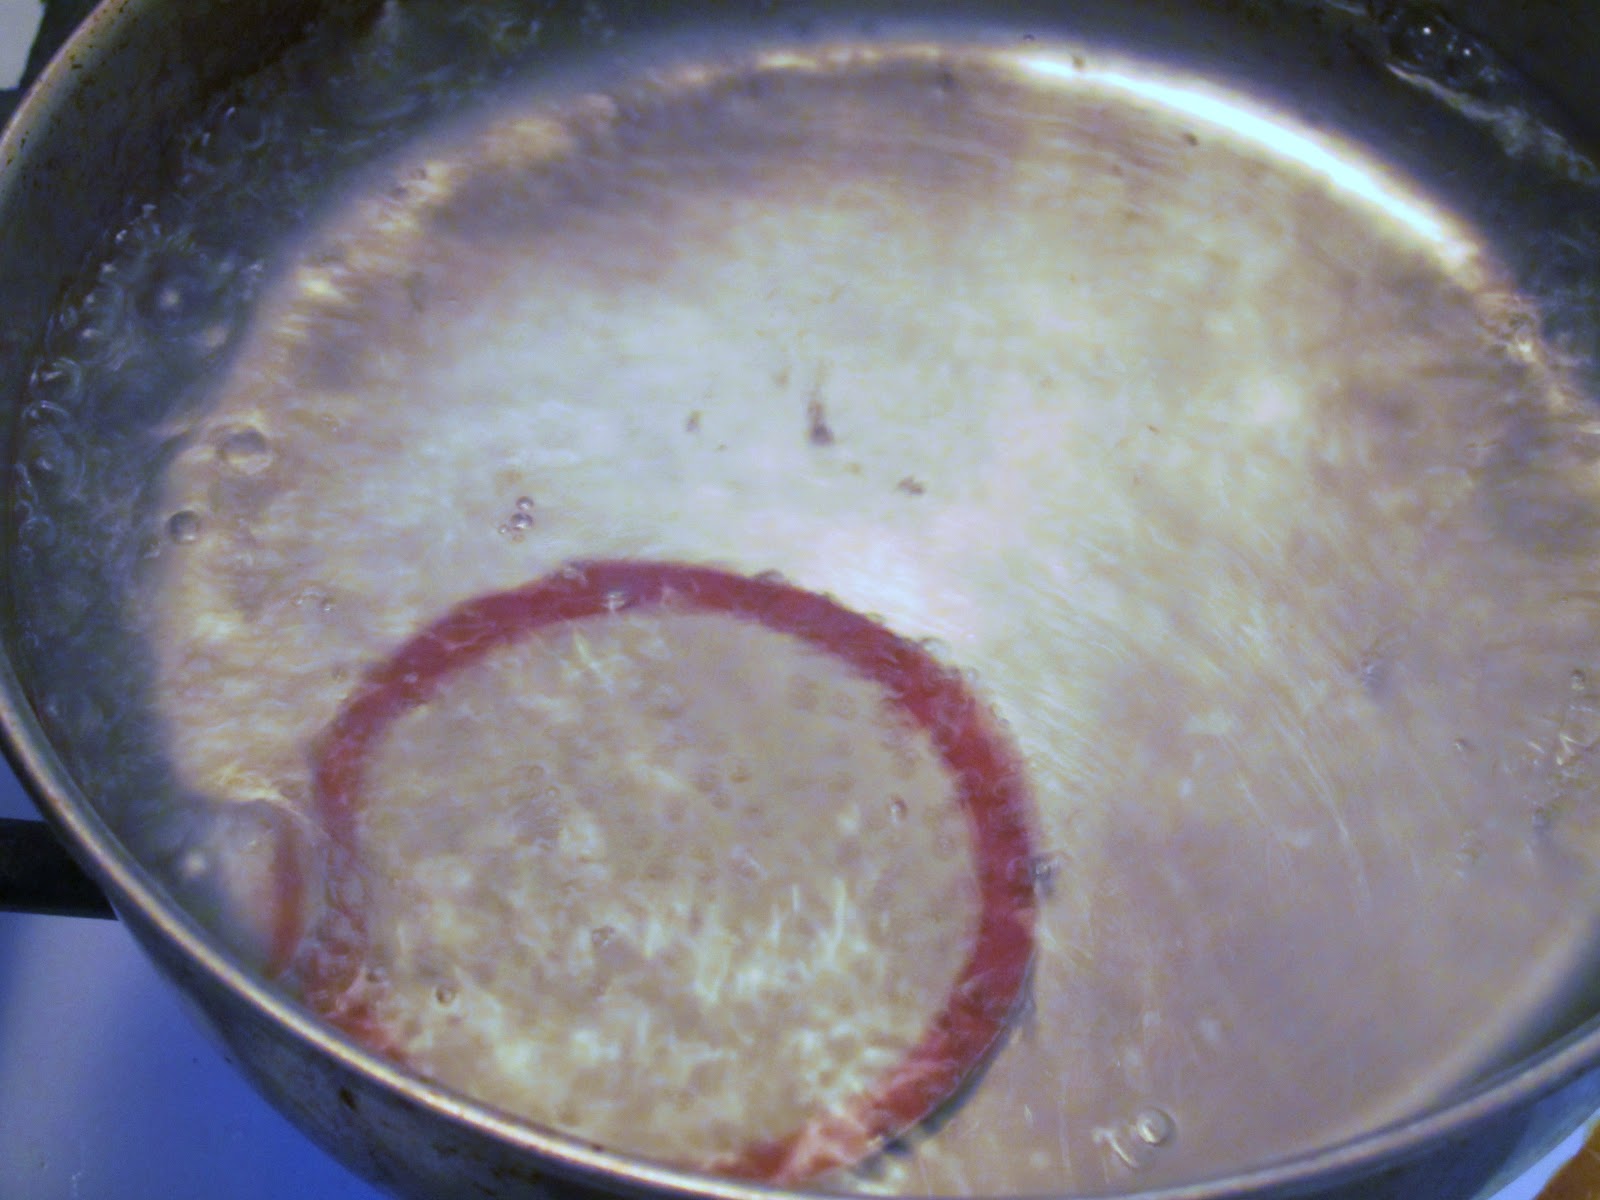
The next step is to put the lids on the jars. I use a small frying pan filled with a few inches of water. The water needs to be actively boiling during this process.
Set the timer for 5 minutes and then place your first lid in the pan. Make sure the top of the lid faces down, and the red rubber part faces up. Watch your timer and take the lid out at about 30 seconds. (The reason I set it for 5 minutes is because then I don't have to keep re-setting the timer.)
Quickly remove the lid from the boiling water with tongs and place it onto the jar. While holding down the lid, place and tighten the band around the jar.

Holding the lid in place while
tightening the band around the jar.
The next step is something I do only because I have limited counter space and the process doesn't take too long to lid and band the jars. I put the jars in the canner while I complete the other ones.

Two jars in the canner ready to go.
In the lower left corner, there's a lid on the counter
ready to go in the boiling water.
To the right of the canner is a lid in the
boiling water in the frying pan.
Canning truly is a multi-tasking activity.
Once all the jars have lids and bands on them, they should be placed in the canner. The canner holds seven quarts - six around the outside and one in the middle.
Normally for tomatoes and applesauce, for example, all seven spaces are used. Because I am hand-peeling the pears, I am doing the canning in smaller batches.

The first batch of pears ready to be canned.
Now, take the tongs and gently take one of the wire handles and remove it from the side of the canner. This will lower the jars into the canner. Repeat for the other side. Put the two edges of the handles together in the middle. This will keep the jars separated from another so that they do not bump into one another and break.

Carefully lowering the jars into the boiling water.
Before putting the lid back on the canner, make sure that the tops of the jars are covered with water. This is necessary to ensure that they seal properly.
For quarts, set the timer for 25 minutes. The water should boil during the entire time while the jars are processing.
After 25 minutes, remove the lid from the canner. Covering your hands with a potholder and using tongs, gently lift the wire handles back over the edge of the canner.
All the jars now should be partially out of the water (just like they were before they were processed). I used a heavy potholder or towel that has been folded quite a few times to remove the jars one-by-one from the canner.
Be very careful...the water can quickly saturate the potholder or towel. It's better to use a dry potholder or towel than a wet one. Removing a jar and having boiled water seep through the potholder is painful. Trust me...it's happened to me more than once throughout the years I've been canning.
As you are removing the jars, keep in mind that the glass is very hot and fragile at this stage. Carefully remove each jar and place it on a towel that has been folded a couple times. Repeat this process until all the jars are removed. Do not let the jars touch one another at this point.
Also, this is not the time to test to see if the jars have been properly sealed. Be patient. Within 5-10 minutes you'll hear some popping noises coming from the jar lids. That means they are sealed.

In a few hours, once the jars are cooled down a bit, press down gently on the lid. If it doesn't give, then it has sealed properly. If it moves up and down, that means it didn't seal. You have a couple choices at this point:
- Put the jar in the refrigerator and use it during the next week.
- Try canning the jar of pears (and any others) again. Remember that you have to start from the very beginning - you just can't put the jar back into the canner.
This post is part of Blog Ease Autumn Blogathon challenge hosted by Blog Ease Facebook Group, BellaDazzle, All 'Bout Cute Designs, Giveaway Overload, Shoes Fashion Fitness, Survival Guide by The Working Mom and Roasted Beanz.
No comments:
Post a Comment