Thursday, October 31, 2013

Countdown to Halloween 2013 - Halloween!

After a couple of doctor appointments in the morning, we spent the afternoon enjoying Halloween. First, the girls carved pumpkins.

Olivia carving her pumpkin with 
Shadow looking on.

This year both the girls easily used knives to carve their pumpkins.

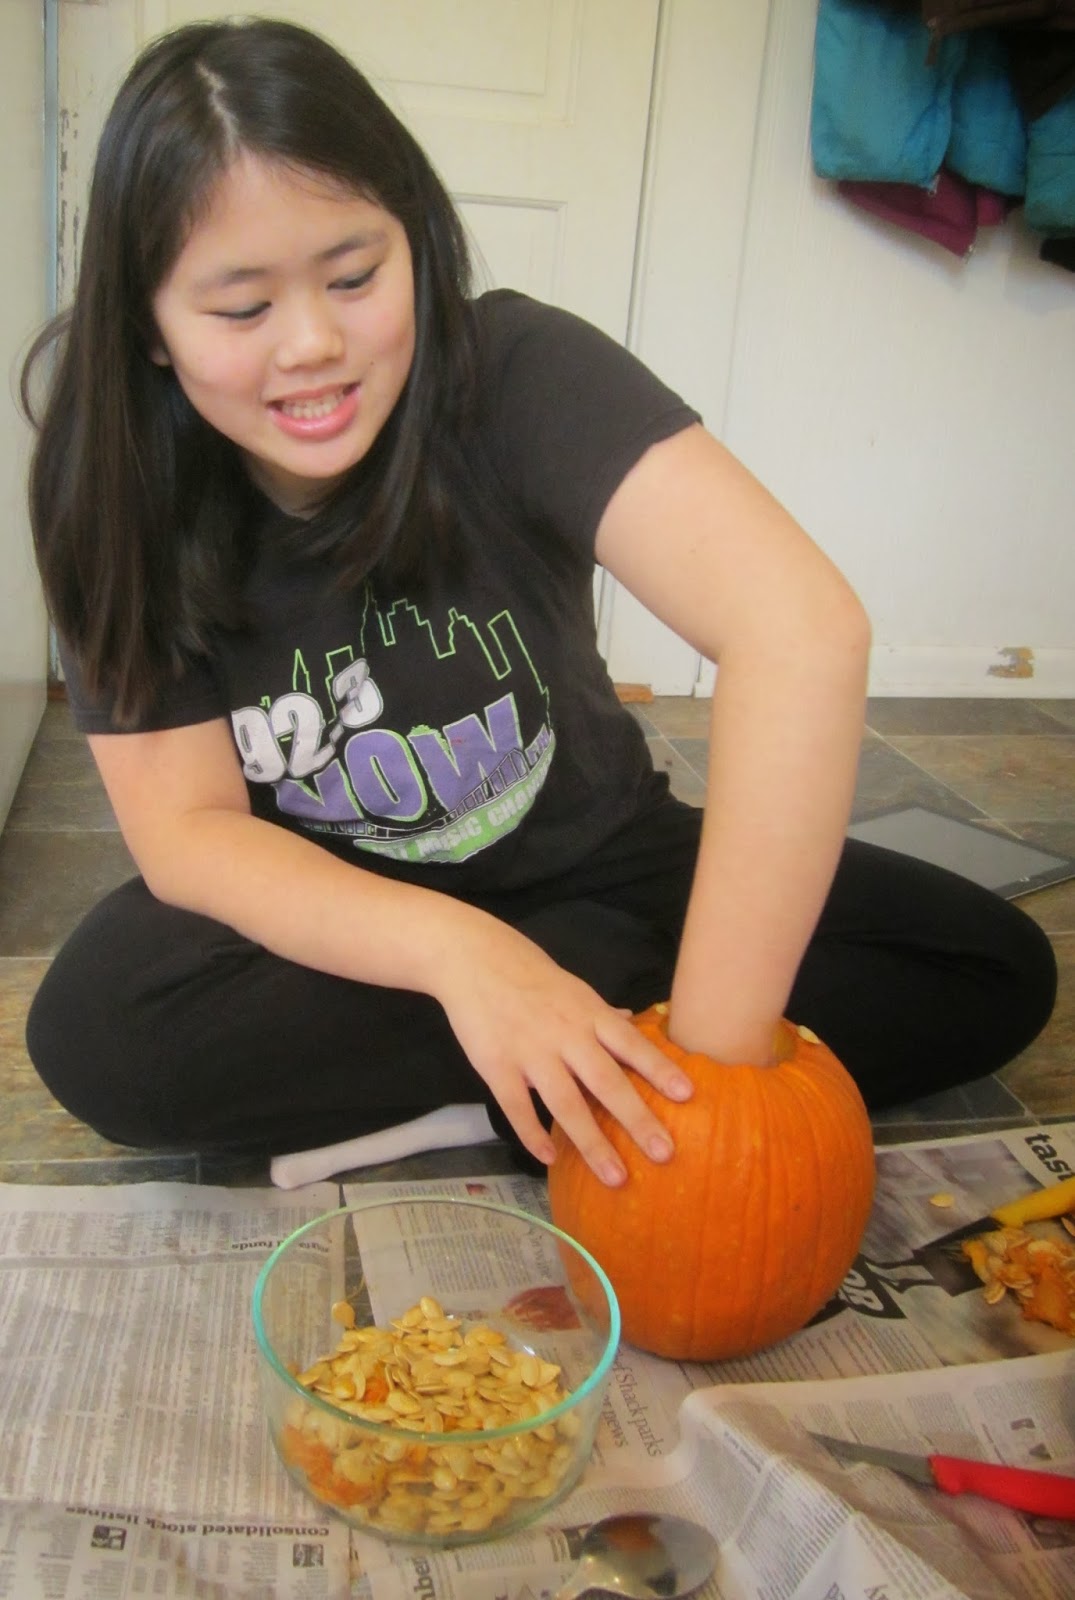
Sophia taking the seeds out of her pumpkin.

Neither of them needed any help with carving or removing all the seeds.

Olivia's pumpkin with the top removed.

For such small pumpkins, both were loaded with seeds.

Some of the many seeds.

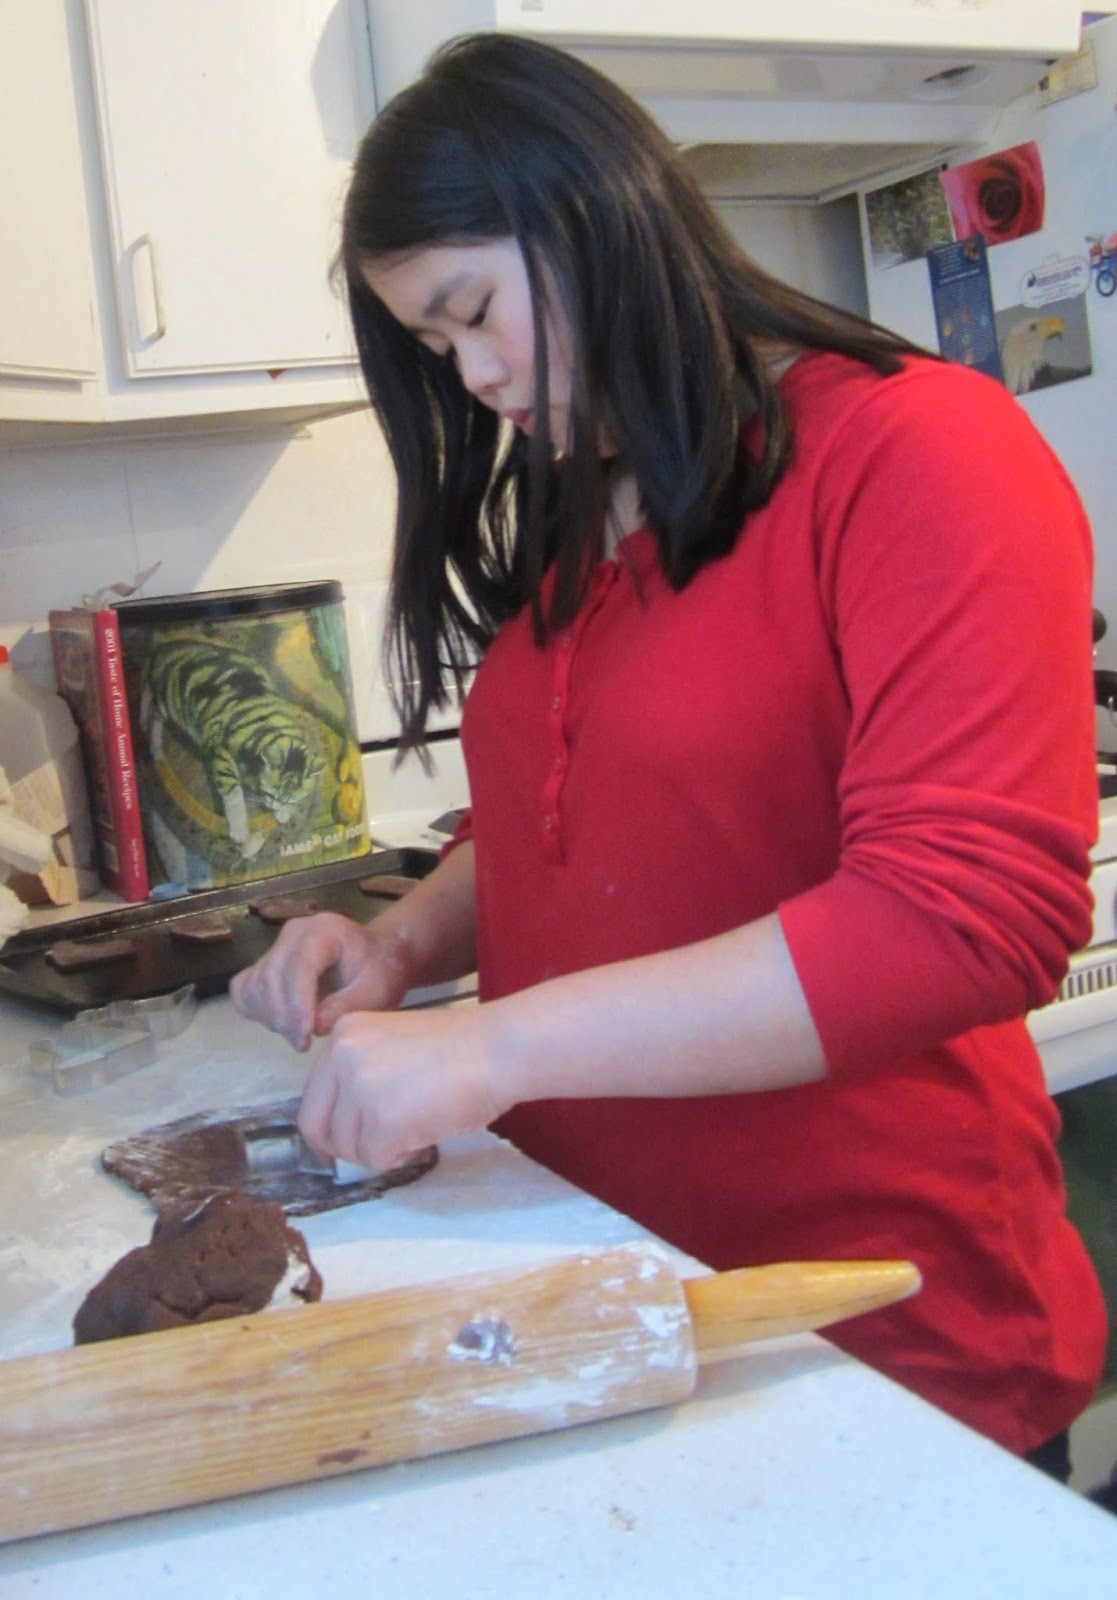
We wash the pulp off the seeds and then roast them in the oven.

Eenie checking out Olivia's pumpkin.

Some of the pets were very curious as to what the girls were doing. I think this is the first year that a couple of the cats were interested in watching.

Montague supervising the girls as they carve their pumpkins.

Montague wanted to get up close to the action.

Cooper checking out what the girls are working on.

This was Cooper's first Halloween, so he wasn't quite sure what to make of the whole pumpkin-carving experience. He was very good, though; and didn't try to eat the seeds or pulp.

Sophia with her pumpkin.

The girls finished carving their pumpkins.

Olivia with her pumpkin.

Then they cleaned up and headed to the dining room where we worked on the outlines of their hands. Each year, I trace their hands onto a tie-dyed pillowcase that has a ribbon through it. Olivia uses it for collecting candy, and Sophia just keeps hers as a record of past Halloweens. (She uses a plastic orange pumpkin for collecting candy.)

The girls figuring out where they want their hand traced and
what color markers to use.

The first step is to trace each of the girl's hands onto their pillowcase using a fabric marker.

Sophia's hand in place.

Then I print the year and what costume they wore inside of their hand. Next, they print or handwrite their name.

Olivia adding her name.

Sometimes they add a picture.

Sophia writing her name on her hand.

They may do a symbol that reminds them of their costume.

Sophia's finished hand for 2013.

When they were done, they take a look at how their hands have grown through the years. This year, Sophia had to put her hand on the back of the pillowcase because there was no more room on the front.

One side of Sophia's pillowcase with
the hand tracings.

Olivia still has room on the front of her pillowcase.

Olivia with her pillowcase decorated with hand tracings.

It was fun to look back at what the girls dressed up as each year; and to compare how their hands had grown from the first year they dressed up to now.

Olivia's finished hand tracing.

Later in the afternoon, the girls changed into their  costumes. Olivia dressed as Cleopatra.

Olivia as Cleopatra.

Sophia dressed as the Snow Queen.

Sophia as the Snow Queen.

Sophia wore fake eyelashes that had "ice" and "snow" on the ends as well as a design on her forehead that looked like ice crystals.

Sophia's long eyelashes and forehead decoration.

The girls really liked their costumes this year.

Olivia and Sophia in their costumes.

After having dinner at the local fire station and playing some games, the girls were ready to go trick or treating. We headed to another nearby community since the homes are close to one another.

Trick or treating at a decorated home.

The girls could walk from home to home which was nice. Because we live in the country, the houses are much further away from one another. Going into town where the homes are right next to one another makes trick or treating even more fun.

Another home with lots of outside decorations.

As we did last year, we went to the senior cottages. The seniors were so excited to see the girls and many were very complimentary about their costumes. The girls wished each of the people who gave them candy a "Happy Halloween."

The girls at one of the senior cottages.

Then we went to a little local cafe. Each year they transform the restaurant into a haunted house. There are different people in costumes around the perimeter of the restaurant. There's even a fortune teller who gave the girls a reading.

Sophia and Olivia at the haunted house.

When we got home, the girls spread out their candy and divided it by type.

Sophia with candy she collected.

It was the most candy they have ever received.

Olivia with candy she collected.

Needless to say, they were very happy.

What we all enjoyed, though, was seeing people who we haven't seen in awhile when we either visited their home or saw them on the street trick or treating. We also visited a senior from church. He was so surprised: he had never had anyone visit him on Halloween in all the 15 years he lived in his home! We had such a nice visit with him, and were so happy that we stopped to see him.

One of the last people we visited was a neighbor who said he didn't have any candy, but welcomed us in for homemade ice cream. He gave us each big bowls of chocolate ice cream. The chocolate was from France and was absolutely delicious. We had a delightful time with him - almost a half hour! - and enjoyed catching up with him.

So, Halloween was a memorable and exciting time for us all this year!

Wednesday, October 30, 2013

Countdown to Halloween 2013 - Mummy Theme

On the last day of the Countdown to Halloween we focused on mummies. Last year we made mummy dogs and the girls enjoyed them. So, we did them again this year.

The presentation this year is a bit lacking...but it didn't matter to Sophia and Olivia. They enjoyed the hot dogs that were wrapped in crescent roll dough.

I baked them in the oven for about 15 minutes at 350 degrees. What I should have done was taken little tiny bits of ketchup or mustard and made a couple of eyes where the "face" would be on the hot dog.

Mummy dogs minus the ketchup eyes.

It's not something you want to do by simply squeezing ketchup out of the bottle. It just comes out as a big blob of ketchup. You need to take a toothpick and apply the ketchup to create the eyes.

The girls just wanted to eat...the mummy eyes weren't necessary.

Ready to eat dinner.

In the center of the table is a candle holder that I made from three types of beans. The idea came from this pin on Pinterest. The pin doesn't lead to a website, but the image was enough to figure out how to make the candle holder.

The first layer in the clear, round vase is lentils (orange), then navy beans (white), and black beans (black). An orange candle is placed on top and lit.

I'm thinking that with a different type and color of beans, there might be a Thanksgiving candle holder that could be made next month.

Tuesday, October 29, 2013

Countdown to Halloween 2013 - Owl Theme

We are almost done with the Countdown to Halloween. Today's theme is owls. I had a variety of patterns for embroidery and craft ideas. However, the girls wanted to focus on making recipes this year so the one we did today was a simple snack mix.

Halloween snack mix.
The Cheerios represent owl eyes.

It included:

- Owl eyes (Cheerios)
- Bat ears (candy corn)
- Spider legs (pretzels)
- Ghost toes (marshmallows)
- Mummy brains (popcorn)
- Zombie skin (gumdrops)
- Witch's warts (chocolate candies)

Cookie Making

The girls also cut out cookies from the dough they made the other day. 

Olivia cutting out cookies.

We have a set of Halloween cookie cutters that they used.

Sophia making cookies 
with the chocolate dough.

Now we just need to decorate the cookies...though they are quite good without frosting and sprinkles.


Monday, October 28, 2013

Countdown to Halloween 2013 - Ghost Theme

This year for the ghost theme day on the Countdown to Halloween we made a couple of recipes that we tried last year: Ghost Pancakes and Ghostly Pizza; and tried a new one this year: Ghost Bananas.

Ghost Bananas

I saw a pin on Pinterest for ghosts made from banana halves. The image looked like the eyes and mouths were painted on with chocolate syrup. I chose to use mini-chocolate chips for the eyes which was fine for our purposes.

Ghost bananas with chocolate chip eyes.

They complemented the ghost pancakes which we also had for breakfast.

 Ghost Pancakes


Some of the finished ghost pancakes.

Using the recipe from the Betty Crocker Cookbook, I made a batch of pancakes. This is such an easy recipe, and all the ingredients can be mixed at the same time:

1 egg
1 cup all-purpose flour
3/4 cup milk
1 tablespoon sugar
2 tablespoons vegetable oil
3 teaspoons baking powder
1/2 teaspoon salt

The ghost shapes are made simply by dropping the batter in random shapes onto a hot griddle.

The eyes are miniature chocolate chips. Once I flipped the pancakes, I placed them onto the cooked side where I thought eyes would look most appropriate.


Olivia and Sophia ready to have breakfast.

We enjoyed these pancakes and will - most likely - be making them again next year.

Ghostly Pizza

The recipe for ghostly pizza comes from a pin that led to My Recipes. It serves 8 people. The image on My Recipes shows the baked ghost shapes as distinctly white. Last year and this year the mozzarella cheese melted on our pizzas (which it should in theory), so the cut-out cheese ghosts disappeared when they were baked.

The ghosts are semi-visible on the pizzas
that Olivia is holding.

This year, I took a photograph before and as we baked the pizzas. The images are much more distinct at this stage.

For the pizza dough, we used a recipe from the Betty Crocker Cookbook. Again, everything can be put in at one time and mixed. There is no rising needed...it is ready to be divided into smaller pieces (one for each person) and flattened out into whatever shape the person chooses.

Ingredients for the pizza dough:

2 1/2 to 3 cups all-purpose or bread flour
1 tablespoon sugar
1 teaspoon salt
1 package regular or quick active dry yeast (2 1/4 teaspoons)
3 tablespoons olive or vegetable oil
1 cup very warm water (120° to 130°)

To make the pizzas once the dough is pressed out on a sprayed cookie sheet, we used:

Pizza sauce (less than 1 small jar)
Pepperoni slices
Chopped onions
Chopped yellow peppers
8 ounces sliced mozzarella cheese

We preheated the oven to 425ºF. Spread sauce in an even layer over dough, leaving a 1-inch border around all sides.

Sophia spreading sauce on the dough.

Use a ghost-shaped cookie cutter or a knife, cut ghosts from cheese. Place ghosts on top pizza.

Add other elements around the ghosts - such as onions, yellow peppers, and/or pepperoni.

The pizzas before they are baked 
with a variety of toppings on them.

Bake for about 15 minutes or until the crust and cheese is as done as preferred.

The pizzas baking in the oven.

Note: To make the underside of the dough more golden and crispy, bake the dough without any sauce or topping until it is golden (lift up pizza with a spatula and take a peek), about 15 minutes.

Visit Seniors at the Nursing Home

We visited seniors at the nursing home where we volunteer about four times a month. Today, we helped make pumpkin bars which was fun.

Some of the ladies, Sophia, and Olivia mixing 
the dry and wet ingredients together.

Some of the ladies from the assisted living section came over and some of the women from the nursing section participated in the making of the pumpkin bars. They seemed to all enjoy the experience.

The girls dressed up in their Halloween costumes. The ladies were so complimentary towards the girls and their costumes.

The girls with John.

Afterwards, we visited a few residents on our own who we enjoy talking with. Over two hours later, we were done for the day. It was a nice afternoon.

Countdown to Halloween 2013 - Pumpkin Theme

For the tenth day in the Countdown to Halloween, we focused on pumpkins. We chose to make three recipes - two of which were healthy and one was a dessert. The girls already received pumpkins when we went to a Falloween (yes, it has an "F" and not an "H") party about a week ago. Each child received a free pumpkin which was nice.

Pumpkin Deviled Eggs

There was a pin on Pinterest for Thai-spiced Deviled Eggs that led to Foodista. Although Sophia and I probably would have liked them, we didn't have the majority of ingredients on hand.

Olivia peeling the eggs.

So, I ended up just making regular deviled eggs and adding a few drops of yellow and red food coloring to make the center of the egg - the "pumpkin" in this case - bright orange.

For the pumpkin stem, I used the tips of pickled green beans that we received from Pam of Salt-n-Pepper Farm. These worked out perfectly and added just the right touch - and flavor - to the deviled eggs. (The original recipe calls for parts of a green onion to represent the stem.)

Deviled eggs made to look like pumpkins.

A bit of trivia from Pumpkin Nook; "The stem often is referred to as the pumpkin's 'handle.' Located on the very top of the pumpkin, the stem is green, when the pumpkin is still growing. As the fruit ripens, it turns brown to brownish green, and slightly curved. During the growing season, the stem is attached to the vine. It is the umbilical cord, bringing nutrients to grow the fruit.

"For the Fall and Halloween season, the stem gives the pumpkin character. Be careful not to lift a pumpkin by its handle, as it can easily break off of the fruit."

Pumpkin Oranges

The next thing we had for dinner were pumpkin oranges. The idea comes from a pin that led to Themeta Picture. The oranges were tiny clementines that were peeled.

Clementine oranges with 
green Mike & Ike candies for the stems.

In the image that I saw, the oranges had tiny celery pieces in them for the stems. I had green Mike & Ike candies on hand from when we did the bat cupcakes the other day. Ended up using them instead because they were easier.

Half Moon Pie Pockets

For dessert we had Half Moon Pie Pockets. It's from a recipe that I read in the Star Tribune in 2005. I've held onto the recipe for eight years and am finally getting around to trying it. It comes from the book The Weekend Baker by Abigail Johnson Dodge.

This easy recipe was well-received by everyone. They tasted like little hand-held pumpkin pies.

2 sheets frozen puff pastry, each 91/2 inches square
Flour
1 egg, lightly beaten
2 tbsp. granulated sugar

Filling:

1 c. plus 2 tbsp. canned unsweetened pumpkin
3 tbsp. firmly packed light brown sugar
2 tbsp. flour
3/4 tsp. cinnamon
1/2 tsp. ginger
1/2 tsp. nutmeg, or less to taste

Directions:

Remove sheets of puff pastry from the box and set them, still folded, on a lightly floured surface. Cover with plastic wrap and let sit until thawed, about 20 minutes.

To make filling: Combine pumpkin, brown sugar, 2 tablespoons flour, cinnamon, ginger and nutmeg in a medium bowl, and stir until well-blended.

To assemble: Preheat oven to 425 degrees. Unfold each pastry sheet onto a lightly floured surface, dust with flour and roll out into a 12-inch square. Using a 4-inch cookie cutter (or the bottom of a 28-ounce tomato can as a guide), cut out 18 circles. (Note: I believe I used a much smaller cookie cutter now that I re-read the recipe. It was probably no more than a couple inches wide.)

Place about 1 tablespoon filling in the center of each round.

Pumpkin filling on the pastries.

Brush the edges with the beaten egg. Fold half of dough over the filling to form a half-moon. Using the tines of a fork, press the curved edge to seal tightly. Repeat with the remaining rounds.

Arrange the pockets 2 inches apart on sheet pans covered with parchment paper or other nonstick liner. Brush with remaining egg and sprinkle with granulated sugar. Bake on the middle rack of oven for 20 to 25 minutes, until puffed and browned.

Half Moon Pie Pockets ready to eat.

These were very good. They tasted like pumpkin pie in the center surrounded by a flaky crust on the outside. We will definitely make these again!

Visit to Grandparents' Homes

The girls wanted to show their grandparents their costumes. This year, Olivia is Cleopatra and Sophia is the Snow Queen. So, they visited Dan first.

The girls with Dan.

Then they headed over to my Mom's home.

Sophia and Olivia with my Mom.

The girls and the grandparents enjoyed their time together. 

Saturday, October 26, 2013

Countdown to Halloween 2013 - Vampire Theme

Today's theme for the Countdown to Halloween was vampires. Although I had a few ideas for today based on what I saw on Pinterest - decorating a white pumpkin to look like a vampire and making vampire cookies - we ended up only doing one - Jam-Filled Pancakes.

I tried to find a white pumpkin for the vampire-looking pumpkin, but they are unavailable in the area. We could have painted a pumpkin white with acrylic paint, but that seemed like it would take quite a few bottles of paint.

When we thought about making gingerbread men that look like vampires, we couldn't stomach the thought of any more sweets. It seems like there are so many recipes for cookies, bars, pies, and other desserts around Halloween...and not very many healthy recipes. So, we chose not to make the cookies.

Instead, we made Jam-filled Vampire Pancakes. I saw the idea on a pin on Pinterest which led to Baking Bites.

Pancake we made with raspberry jam filling.
The fang marks were made using a toothpick.

The recipe for the pancakes had a nice flavor to it because there is one teaspoon of vanilla. However, the batter is very thin and did not cover the raspberry jam filling completely. I'm wondering if it was because I used skim milk versus the buttermilk as called for in recipe.

Either way, using one of our recipes for pancakes - either from the Betty Crocker cookbook or my Dad's sourdough pancakes - would have been better to use. Both these recipes have thicker batter, rise when cooking, and would have easily covered the jam.

The red raspberry jam came from Salt-N-Pepper Farm and was delicious!  It was the perfect for the two "teeth" marks in the pancake that made it look like it was oozing "blood."

This is the recipe that we used:

1 1/4 cups all purpose flour
1 tsp baking powder
1/4 tsp salt
1 tbsp sugar
1 1/2 cups buttermilk
1 large egg
1 tbsp vegetable oil
1 tsp vanilla extract
approx 1/3 cup red jam of your choice

In a large bowl, whisk together flour, baking powder, salt, and sugar.

In a small bowl or large measuring cup, whisk together buttermilk, egg, vegetable oi, and vanilla. Pour into dry ingredients and stir until just combined.

Preheat a lightly-greased griddle or frying pan to medium-high. When a drop of water skitters on the surface, it is ready.

Drop a scant 1/4 cup of batter onto the griddle. Place about 3 tsp jam in the center of the pancake. Cover with a bit more pancake batter – just enough to hide the jam. Cook until first side is golden, then flip and brown the second side.

Sophia making fang marks in her pancakes
using a toothpick.

To make vampire bites, use a toothpick to make fang marks and mark each with a drop of jam. Serve immediately.