Friday, October 25, 2013

Countdown to Halloween 2013 - Black Cat Theme

For the Black Cat theme on the Countdown to Halloween 2013, we made Howl-oween Hairball Helpers for our cats. The recipe was from a clipping I had in my file. However, I found the pin on Pinterest which led to the online version of the recipe.

Olivia breaking the treats into smaller pieces for Lucy.
He liked the treats, and wanted to have more.

 It's very easy with only four ingredients:

1/4 cup flour
1 5 ounce can tuna in water (do not drain!)
2 tablespoons canned pure pumpkin puree
1 teaspoon dried catnip

Preheat the oven to 350 degrees . In a bowl, combine all the ingredients, mixing until a dough forms.

Olivia mixing the ingredients for the cat treats.

Using floured hands, pinch off bite-size pieces of dough (about 1/4 teaspoon each) and place on lightly-greased cookie sheets.

Bake until lightly browned and crisp, about 20 minutes. Refrigerate in an airtight container until ready to use.

The finished cat treats.

Supposedly the recipe's yield is 7 to 8 dozen. Had we baked the dough for the recommended time and made 7-8 dozen, the cat treats would have burned. Rather, we made fewer treats and then break them into small pieces when we give them to the cats.

Out of the five cats, Eenie, Lucy, and Maggie like the treats the best.

Eenie devouring the cat treats.

Meenie licked them, but didn't them.

Meenie licking the cat treats.

Shadow smelled them and walked away.

Shadow...the picky eater...didn't care for the treats.

He's not a big treat eater, though, so that doesn't come as a surprise.

*~*~*~*~*~*

We also made the dough for black-cat cookies that we made last year. It needed to sit in the refrigerator for a couple hours before the dough could be rolled out and cookies baked. By the time two hours passed, it was around dinner time and we didn't feel like making the cookies. We will at a later date.

Sophia mixing the cookie dough.

This is the recipe we used:

Ingredients:

2 cups sugar
1 cup butter, softened
3 eggs
1 tablespoon vanilla
3 cups all-purpose flour
3/4 cup unsweetened cocoa
1/2 teaspoon baking powder
1/2 teaspoon baking soda
1/2 teaspoon salt
Candy corn
Red cinnamon candies

Directions:

Combine sugar and butter in large bowl; beat at medium speed until well mixed. Add 1 egg at a time, beating well after each addition. Add vanilla; beat until well mixed.

Combine all remaining ingredients except candies in medium bowl. Reduce speed to low; add flour mixture to butter mixture. Beat until well mixed.

Divide dough in half. Shape each half into a ball; flatten to 1/2 inch. Wrap each half in plastic food wrap. Refrigerate until firm (at least 2 hours).

Heat oven to 350°F. Roll out dough on lightly floured surface, one-half at a time (keeping remaining dough refrigerated), to 1/4-inch thickness. Cut with 3-inch round cookie cutters. Place onto ungreased cookie sheets. (Note: Last year we lined cookie sheets with parchment paper for easier clean up.)

Using fingers, pinch up ears at top of each circle. Place 2 pieces candy corn onto cookies for eyes and 1 red cinnamon candy for nose. Press tines of fork on each side of cookie below eyes to form whiskers.

Bake for 7 to 9 minutes or until cookies are set. Let cool 1 minute on cookie sheet; remove to wire cooling rack.

Thursday, October 24, 2013

Countdown to Halloween 2013 - Candy Corn Theme

Today's theme for the Countdown to Halloween was candy corn. We made two recipes and did one quick project in preparation for Monday when we volunteer with the seniors at the nursing home.

Halloween Candy Corn Pretzel Bark

Candy Corn Pretzel Bark that we made.

We still have quite a few pretzels on hand - even after using them for other recipes during the past few days on the Countdown. So, the pretzel bark is a great way to use up a couple more cups of them.

The recipe came from a pin on Pinterest that led to Very Culinary. It makes enough for 24-36 people if broken into 2-3 inch pieces - so a good recipe for sharing with others or even dividing by half or quarters if it is just to be eaten by a family.

There are only three ingredients needed:

24 ounces white chocolate baking squares, chopped
2 cups thin salted pretzel sticks
2 cups candy corn

To make the Candy Corn Pretzel Bark, first line a baking sheet with waxed paper or parchment paper. Then place white chocolate in a medium glass microwavable bowl and melt in the microwave for 30 seconds minute; stir. Microwave at additional 15 second intervals, stirring until smooth.

Break pretzels into small, bite-size pieces.

Olivia and Sophia breaking the pretzels 
into smaller pieces.

Add pretzels and candy corn candies to melted chocolate.

Olivia adding the candy corn to the pretzels.
Cooper is looking on...hoping for a fallen candy or pretzel.

Stir all the ingredients until they are well combined.

Sophia stirring the chocolate, pretzels, and candy corn together.

Spread onto the lined baking sheet. Press in additional pretzels and candy corns for added color, if desired.

The mixture spread out on a baking sheet.

Chill in the freezer for 15-20 minutes until set. Break into pieces. Refrigerate the Candy Corn Pretzel Bark in an airtight container.

Candy Corn Popsicles

The next recipe we made was Candy Corn Popsicles. The pin for the recipe links to The Girl Inspired.

There are three layers in the popsicles:
- Vanilla yogurt
- Orange juice
- Pineapple juice

Sophia and Olivia putting spoonfuls of yogurt
into each popsicle holder.

Let each layer freeze up for about 15-30 minutes or so before adding the next layer. After the third layer, add the popsicle holder and freeze overnight.

The original recipe called for plain yogurt mixed with honey or agave. We just used the vanilla yogurt without any additional sweeteners.

The pin showed the orange juice and  pineapple juice with food coloring so the colors were more dramatic in the picture. In reality, uncolored orange and pineapple juice are very similar in color. There's not a huge difference - so the colors of our popsicles aren't as differentiated as the ones in the pin.

Nonetheless, they are a tasty and healthy treat for after a meal.

Candy Corn Candle Holders


Olivia with the candy corn candle holder
she put together.

On Monday, Sophia, Olivia, and I are helping make pumpkin bars at the nursing home with some of the residents. We are bringing some centerpieces to make the tables a bit more festive and Halloween-inspired.

So, one of the ideas for a centerpiece was shown on Pinterest. The pin simply led to a picture. However, the concept is simple enough: pour candy corn into a vase, glass, or other clear container.

The girls pouring candy into glass vases.

Place a candle in the center - either orange, gold, or white.

Sophia holding her candle holder.
Cooper is holding a rug in his mouth.
He does that when he wants to have whatever
someone is holding in their hand...like a token in exchange for food.
He believes Sophia would appreciate a rug
in exchange for candy corn and a candle.

That's it! Simple, festive, and something unexpected.

Costume Alteration

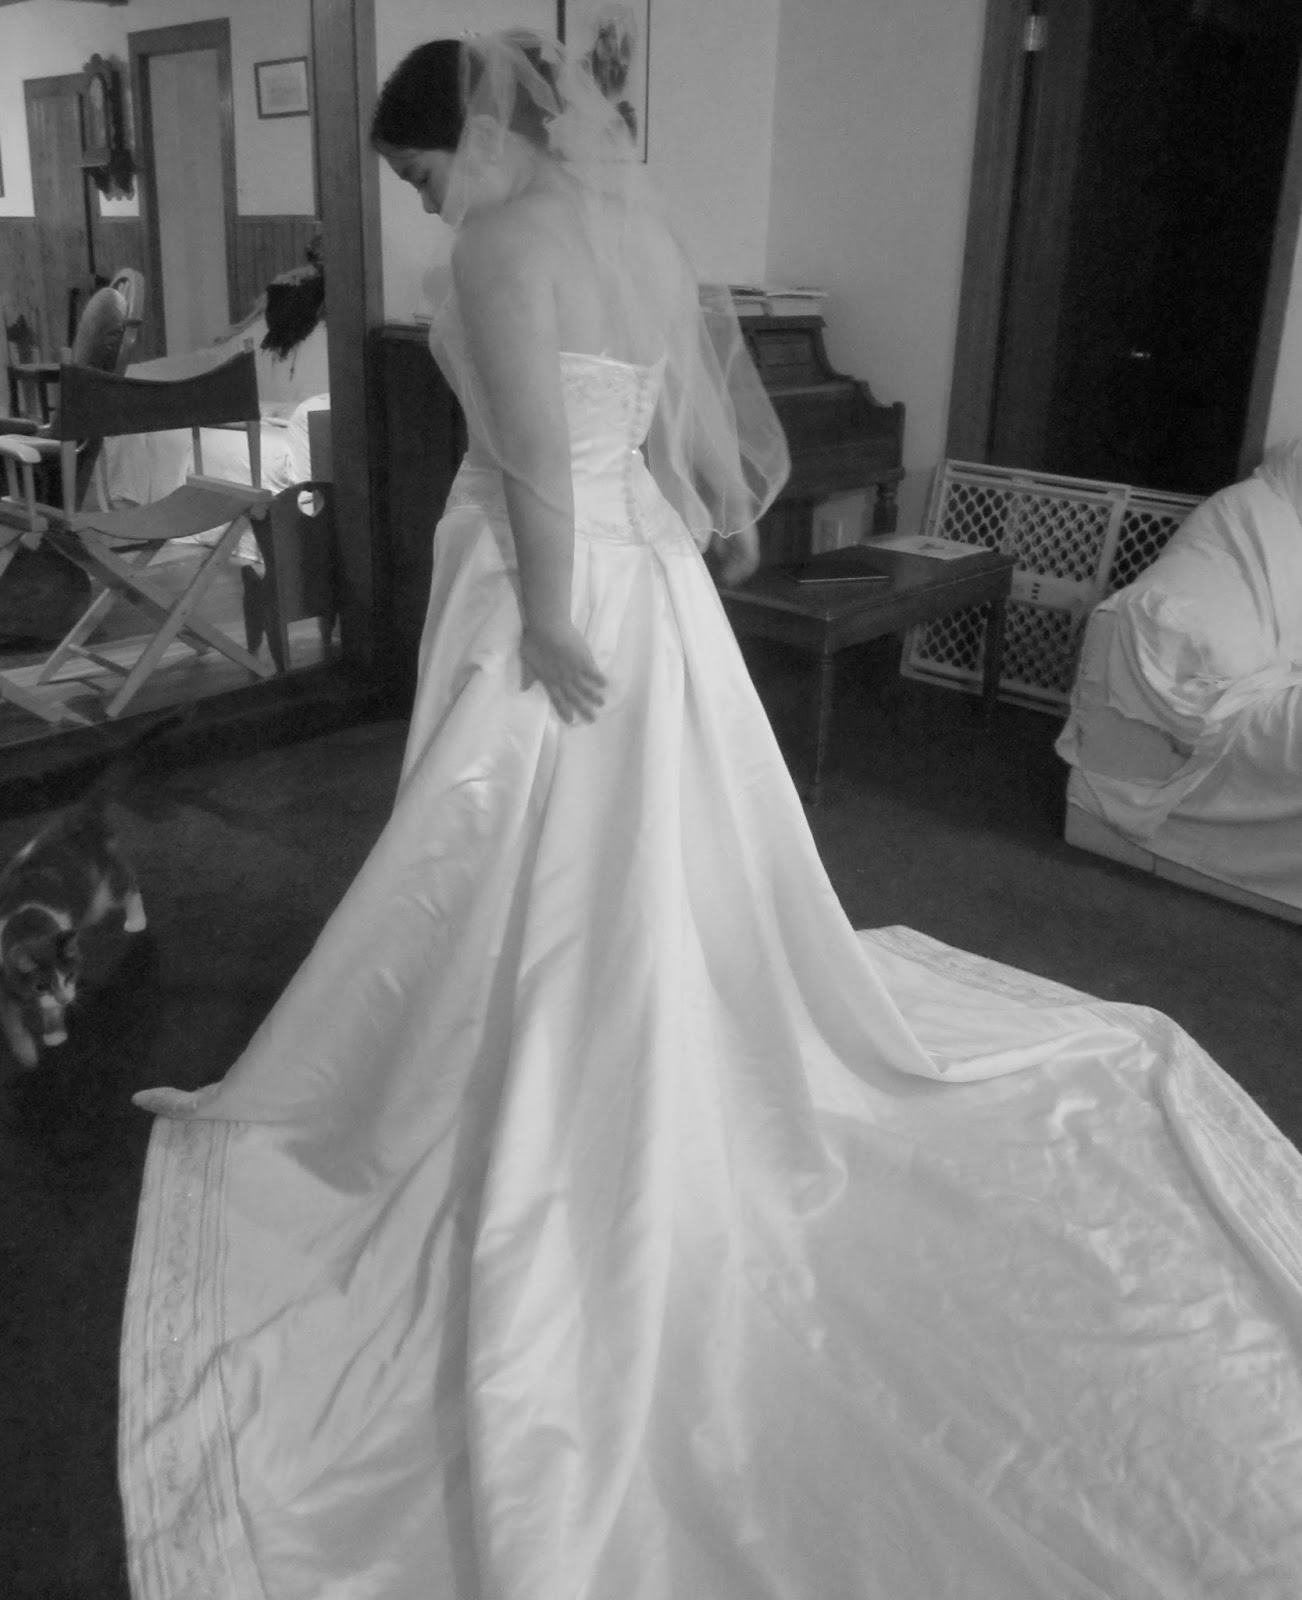
As Halloween nears, Sophia has been getting nervous about me not starting alterations on her costume. She found a wedding dress that I am changing into a gown for her Snow Queen costume.

Sophia in the dress before I altered it.

The length of the dress needs to come up without losing all the beading work and decorative edge along the bottom of the dress. Then...somehow...feet and more feet of the train need to hide in the dress to transform it from wedding dress to gown.

This is the back of the dress that needs to be hidden.
She tried it on with a veil the night she got the dress.

The easiest part: taking out some of the crinoline that made the dress puff out. 

This is before the crinoline came out.
The beading work along the bottom of the dress 
also is a bit more visible here.

After about an hour of pinning up the dressing, it is now ready to be sewn. 

The bodice is nicely fitted. 
It will be covered with a faux-fur cape when the costume is completed.

I have two days to do this: Friday and Saturday - before the first time she'll be wearing the costume this season. 

Wednesday, October 23, 2013

Countdown to Halloween 2013 - Bat Theme

For the sixth day in the Countdown to Halloween, our focus was on bats. However, we had a rather full day with a visit from a friend in the morning; a trip to the library in the afternoon; and violin lessons  for Sophia and choir practice for both the girls in the evening. So, we ended up doing two bat theme activities on Thursday instead.

There are a lot of crafty ideas for bats, however the girls are enjoying the food-making activities more this year.

Bat Skewers

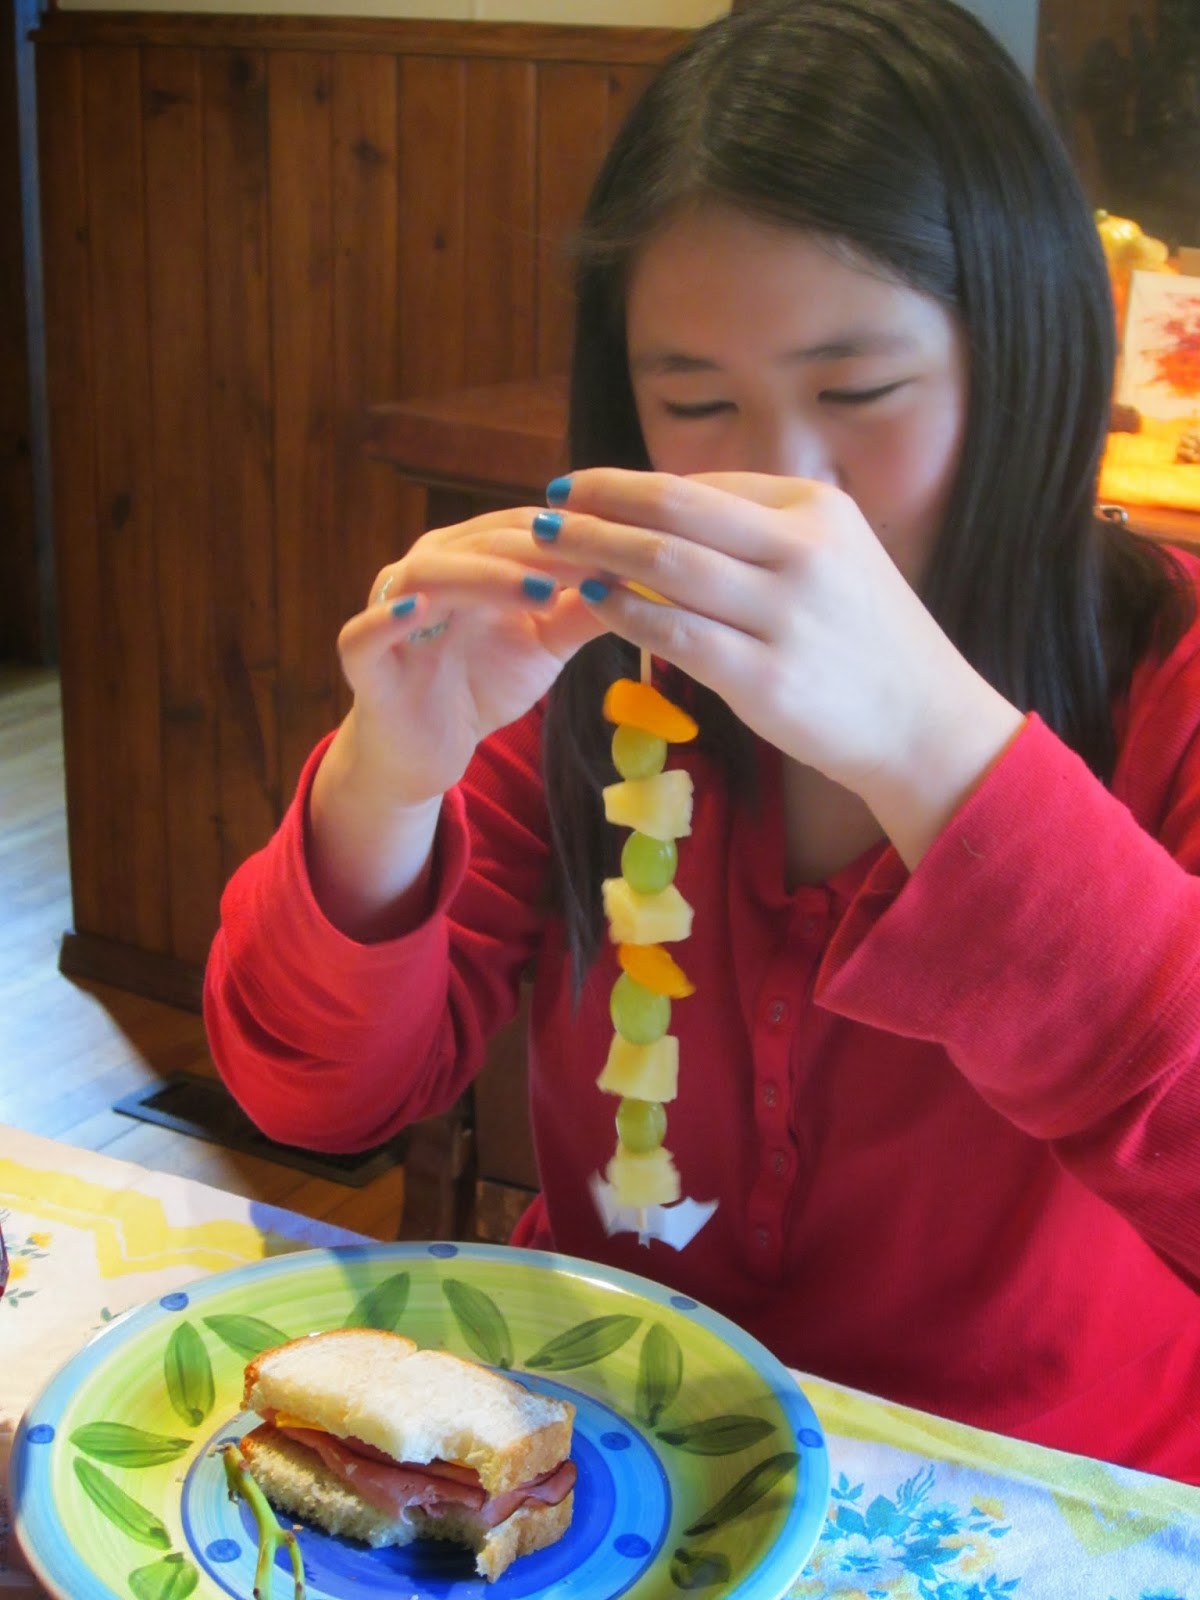
Sophia with her Bat Skewer.

Pinterest had an idea for bats on this pin: a fruit skewer topped off with a bat figure. The pin leads only to an image, so it doesn't say where the bat-topped skewers could be purchased.

I looked at various stores, but these skewers weren't available locally. Even looking at others small food decorations that could be attached to the skewers didn't work. Apparently bats aren't popular Halloween decorations on food.

At any rate, there is an image of various bat outlines on Tumblr that I printed. From that, I cut three bat images. I taped these onto the dull end of the skewers. Frugal and functional for what we were doing...the images were more than sufficient for our needs.

We used pineapple chunks, grapes, and manadarin oranges for the fruit.

Sophia placing fruit on the skewer.

The original pin showed strawberries. However, strawberries aren't in season in Minnesota so there aren't any fresh ones at the grocery stores now.

Any type of fruit that can be sliced or cut into chunks could be used for the Bat Skewers. Each person can put the fruit onto her skewer that she likes.

Olivia placing grapes and mandarin oranges
on her Bat Skewer.

The skewers can be made before the meal and placed on a platter.

Completed Bat Skewer.

Or they can be made and eaten right away...which is what we did.

This was a healthy item...before we made the unhealthy one: Bat Cupcakes.

Olivia showing her finished Bat Cupcake.
Lucy is in the background.

I had a clipping from Family Fun magazine in my Halloween file since 2003 for these cupcakes. More recently, I found a pin on Pinterest for them which led to Thrifty Jinxy.

Olivia's finished Bat Cupcake.

Ingredients:

Cupcakes (baked from your favorite recipe)
Chocolate frosting
White icing in a bag
2 M&M's Minis for each bat cupcake
Jujube candy (we used Mike & Ike candies)
Thin Mint
Andes Creme de Menthe candy

Directions

Frost a cupcake (baked from your favorite recipe) with chocolate icing.

Sophia frosting a cupcake.

For the bat's face, set two mini M&Ms in place for the eyes.

Sophia placing the eyes, nose, and wings 
in just the right position with a knife.

Add a Jujube/Mike & Ike candy nose. This either can be cut in half or pushed down into the cupcake.

Sophia cut the candy for the nose in half.
Olivia and I kept it whole and pressed it into the cupcake.

For the wings, cut a Thin Mint in two and set the halves in place.

Olivia putting the Thin Mint halves in place.

Then cut an Andes Creme de Menthe candy in half diagonally. Set the pieces in place for the bat's ears. As a side note, we had a lot of difficulty cutting the candy in half. It is solid chocolate, so it doesn't cut smoothly as shown we had expected.

Sophia with her finished Bat Cupcake.

Finally, add a white frosting mouth, fangs, and pupils.

Olivia adding frosting for the mouth and fangs.

I tried applying a small dot of frosting on the mini M&M. It ended up coming out a bit too fast, and consequently creating a line of frosting rather than a dot. Next time, I'd skip trying to put frosting on the mini M&Ms next time; or maybe used a toothpick to apply frosting rather than applying it from the bag.

My finished Bat Cupcake.

We all had fun making the Bat Cupcakes and Bat Skewers, and definitely would make these items again.

Tuesday, October 22, 2013

Countdown to Halloween 2013 - Spider Theme

Although we aren't huge fans of spiders, that was the theme of today's Countdown to Halloween. We chose to make two food items again today for dinner:  Olive Spiders on Crackers and Spider Cupcakes.

Spider Bites

The other day when we did the witch theme, we used round crackers and the spreadable cheese. When I saw the pin for Spider Bites on Sugar N Spice Gals, it made sense to try them since we already had two of the three ingredients on hand.

Sophia with the spider bites she made.

To make the Spider Bites, you need:
- Ritz Crackers
- 1 can large olives
- 1 can of spreadable cheese

To make one spider, squirt the cheese on the cracker. Spread it so it covers the cracker completely.

Olivia spreading the cheese on the crackers.

Cut an olive in half, using one half for the body and the other half for eight thin slivers for the legs.

Sophia placing the olive halves 
on some of the crackers.

Put the body of the spider on first, and then lay the legs on - spreading them out to appear like the legs of a spider.

Olivia putting the legs on her spider.

Sophia and I liked the Spider Bites, but Olivia doesn't care for olives. So, she preferred her crackers just with cheese.

Spider Cupcakes

I saw the pin for Spider Cupcakes, but the pin didn't lead to a website with cake decoration ideas, but nothing for these particular cupcakes. So, we guessed as to how to make them.

Sophia made a batch of chocolate cupcakes and let them cool until dinner.

Sophia removing the cupcakes from the pan.

After dinner, we each took the cupcake holder off so the cupcake was bare. We frosted the top of the cupcake.

Olivia frosting her cupcake.

We added chocolate sprinkles. (The original pin showed that the cupcakes were not frosted, but we felt like they would be better with frosting and sprinkles on them.)

Sophia frosting her cupcake.

To make the head, we took a blob of frosting and put it on one side of the cupcake. We tried to round it a bit so it looked like a spider head.

Frosted cupcake with a blob of frosting 
on the plate for the head.

At this point, it was time for the legs.

Sophia adding legs to her spider.

Ideally, we would have used frosting that already came in a bag with a tiny point.

Olivia adding legs to her spider.

Instead, we put some frosting in a baggie and cut one of the ends off.

The width of the legs on my spider was a little too large.
They also weren't as smooth looking as the pin.


Unfortunately, I cut a bit too much off so the legs ended up being larger than we wanted.

Sophia's finished spider cupcake.

Regardless of how they looked, the Spider Cupcakes were delicious and nice way to end our spider-theme day of the Countdown to Halloween.

Monday, October 21, 2013

Countdown to Halloween 2013 - Monster Theme

On the fourth day of the Countdown to Halloween, we focused on monsters. Since today was a homeschool co-op day, we didn't have a lot of time to spend with the theme. However, what we made today - Taco Monsters and Boo-Nilla Shakes - both were hits with Sophia and Olivia!

Taco Monsters

Sophia's taco monster.

The pin for taco monsters led to a recipe at the Examiner that used ground turkey mixed with carrot puree and baby spinach puree. I knew the girls would not like this as much as the tacos we normally have, so I opted just to make a regular batch of tacos.

This is nothing fancy: it's just a pound of hamburger (fried and drained) with 3/4 cup of water and the Oretega taco seasoning. Easy and quick to make...especially after a long day.

In addition to these ingredients, we used:
- 1 plum tomato, cut length-wise into several pieces (use a knife to round off the edges to resemble a tongue)
- 12 pimiento-stuffed green olives
- 3 slices cheddar cheese
- 6 taco shells
- chopped onion
- chopped yellow pepper
- salsa

Cut each tomato lengthwise into several pieces. Round off edges with a knife, as needed. The remaining inside of the tomato may be chopped for additional taco filling, if desired.

Cut slit into 1 side of each olive to make a flat side.

Cut each of the slices of cheese in half vertically in a zigzag line to look like teeth.

Arrange taco shells on a plate and microwave for about a minute or so, or until hot.

To assemble, fill tacos with desired fillings so that hamburger is on the top.

Olivia placing taco filling in a shell
to make her taco monster.

Placing each taco on its side on serving plate, insert one tomato slice into meat filling to look like tongue.

Olivia placing the taco on its side.

Place one cheese slice with zigzag edge toward meat along top side of taco between the shell and the filling.

Taco with olive eyes, a tomato tongue, and cheese teeth.

Place two olives, flat sides down, to look like eyes on top of shell.

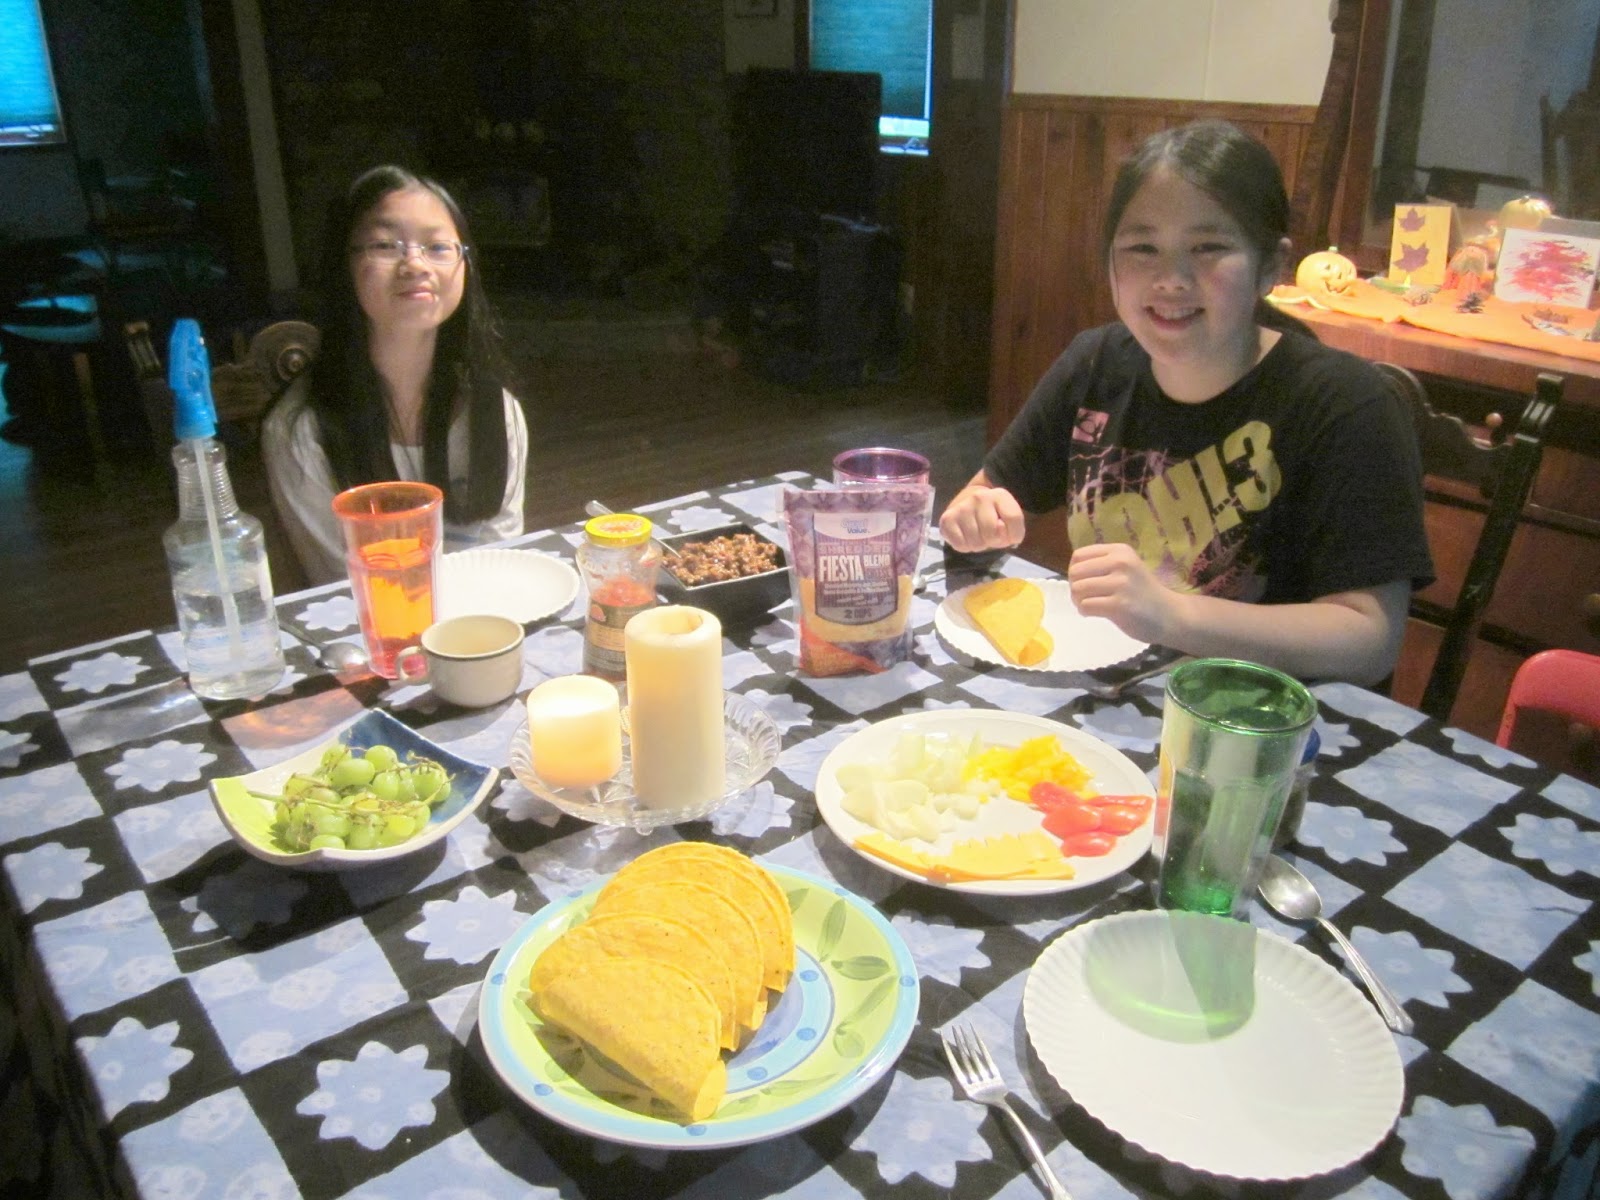
Dinner - taco monsters and grapes followed by
boo-nilla shakes for dessert.

Boo-Nilla Shakes

Three Boo-Nilla Shakes ready to eat!

For dessert, we enjoyed Boo-Nilla Shakes - a recipe from Martha Stewart Living magazine. I had the recipe in my files for many years, but never made it around Halloween. This year, though, I was determined to add it to the list of recipes to try.

Looking on Pinterest after we made the recipe, I did find a pin for the shakes. It led to Martha Stewart's website. It noted in the description to melt chocolate chips and with a paintbrush apply the melted chocolate the side of the glass and let it harden before adding the shake. (We were wondering how the faces were so perfectly applied and stayed once the shake was added.)

Since that part of the shake wasn't noted in the recipe, we ended up using chocolate syrup and then adding the shake. It's not the same as melted chocolate chips, but Sophia and Olivia were pleased with the Boo-Nilla Shakes nonetheless.

Sophia with her shake.

The recipe noted the following ingredients for making six shakes:
1 cup whole milk (we used skim milk)
2 pints vanilla ice cream (4 cups)
1 cup heavy cream
1 tablespoon confectioners' sugar

Without reading the instructions, I put all of these ingredients in the Vita-Mix mixer and blended them together. Sophia mixed them and then I realized that the heavy cream and confectioners' sugar should have been used for the whipped topping. Whoops...

(If I had followed the recipe, this is what should have been done:  Blend milk and 1 pint ice cream in a blender until smooth. With machine running, add remaining pint ice cream, one scoop at a time; blend until smooth. Pour milkshake into six 8-ounce glasses decorated with chocolate faces, filling them 3/4 full.

(Put cream in the bowl of an electric mixer fitted with the whisk attachment. Beat on medium speed until soft peaks form. Add confectioners' sugar. Beat until stiff peaks form.Transfer whipped cream to a pastry bag fitted with a 1/2-inch plain round tip (such as Ateco #806). Pipe spiral mounds of whipped cream on top of milkshakes. 

(For 12 faces, place 1/3 cup (2 ounces) semisweet chocolate chips in a microwave-safe bowl; microwave on high until melted, 1 to 1 1/2 minutes; stir. Using a small brush, paint chocolate inside glasses (if it hardens too soon, microwave 20 seconds more). Let set a few minutes before adding shake. Prepare glasses up to a day ahead, but don't fill until ready to serve.

Serve immediately.)

So, I put the chocolate syrup in the cups with the edge of a knife. Then I poured the shake into each of the cups. Last, Sophia used the canned whipping cream to add the top to the monster shake.

Even though I didn't follow the recipe, we all agreed that this shakes were the best we had ever had. I think the addition of the heavy cream made quite a difference.

Olivia with her shake.

We definitely will make these recipes again next year...and in the same way that we did this year. Sometimes making things the way that you know that your family will eat...or making things the wrong way by accident - actually turn out surprisingly well!