Showing posts sorted by relevance for query "window star". Sort by date Show all posts

Sunday, April 5, 2020

More Window Stars for Easter

I made some more window stars since I'm finding I have a bit more time because of the stay-at-home order in Minnesota. It has been fun to try some new patterns that I've pinned on my Pinterest board.


This is a closer look at the left side of the window:


This is a closer look at the right side of the window:


The first window star that I tried was a pin that led to an image.


I used 3"x5" paper because I couldn't figure out the size from just looking at the image. Maybe trying a larger square would create the star - perhaps a 4" or 5" square. My version, in pink, looks different than the yellow star, but that's fine. I'm happy with it.


*~*~*~*~*~*~*

Next, I made a purple star from a pin that led to Meinesvenja:


I used 3"x3" square paper for this window star and it came out just as the image above.


*~*~*~*~*~*

Next, I made a gold star using the pattern below. It came from a pin that led to Origami Maniacs.


This is my version of the window star:


*~*~*~*~*~*

I found another pattern I liked on Pinterest that led to Origami Maniacs.


It didn't turn out exactly like the instructions. It's kind of difficult without knowing the paper size since even something that's off by 1/4" or 1/2" can substantially change the way the final window star looks. 


*~*~*~*~*~*

I've had my eye on this pattern for a while because the points are different at the tips than other stars I've made. Since it's Spring and almost Easter, I chose lime-green paper for this 16-point star. The pattern is from Deschdanja.


This is my version:


*~*~*~*~~*~*

Last, I tried this pattern. The pin doesn't lead to an image, so I just followed the directions on the left side of the image. It does not even come close to the image on the right. If I had looked closer at the directions, I would have noticed that before starting.

What's interesting is that when folding the points, they end up much smaller at the center so instead of 8 points, 16 points are needed to make the window star.


Even though the window star didn't come out even close to the image of the red star, it's fine. I still have a pretty star for our Spring/Easter window. 


Monday, November 7, 2011

Winter Window Stars - Art Every Day Month - Day 7

Today I made a trio of winter window stars in purple, blue, and white. The weather seemed much chillier today, so these colors reflected the strong wind and colder temperatures outside.

A trio of stars for a cold autumn day.

The first star I made was a purple one. Each point is folded 22 times. With 8 points, that's 176 folds to make the star.

Purple window star with 22 folds per point (176 folds total).

The second star is much easier to make - only six folds per point. With five points, that's 30 folds to make the blue star.

Only 30 folds to make this blue window star.

The last star I made is the white one. This one took 20 folds per point. It has six points, so that's 120 folds to create this window star.

White window star with 20 folds per point...or 120 folds total.

I have some more window stars to make for Day 8 as well as another quilt square that I want to finish. Art Every Day Month has given me the push I needed to create and get projects done that I have wanted to do for some time now.

I may just have to continue dedicating some time each day to create. It does a lot for my spirit when I take that time to do something creative.

Sunday, August 7, 2011

The Summer of Color Wrap-Up

Here it is...the final week of The Summer of Color challenge that is being hosted by Kristen at Twinkle Like a Star. This has been such a wonderful project, and helped motivate me to:

- do some projects that I've wanted to do for a long time,
- create new window star patterns,
- try existing window star patterns in different colors, and
- make a quilt.

Projects I've Wanted to Do

I did several embroidery projects during the weeks when the featured color was pink and green.

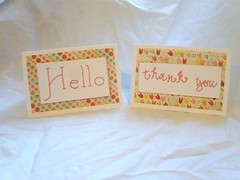
Embroidered Greeting Cards
Pink hand-embroidered greeting cards.

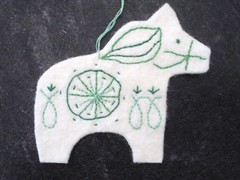
Embroidered Dala Horse
Green hand-embroidered Dala horse and tree.
They can be used as ornaments or tags.

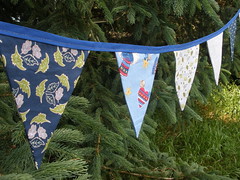
For the Blue Week, I did some sewing projects - a bunting and tablecloth.
Blue Bunting Close Up
Blue bunting.

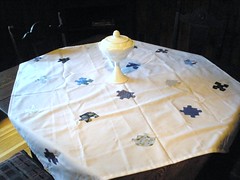
Puzzle Tablecloth
Tablecloth that I made by tracing puzzle pieces
onto pieces of fabric. Each are hand-cut and then ironed onto
the white fabric using an iron-on adhesive.

Create New Window Star Patterns as well as Use Existing Patterns to Make Window Stars in New Colors

For many of the weeks, I enjoyed making window stars in a variety of colors. It was fun to create new patterns and see what the new window star would turn out like.

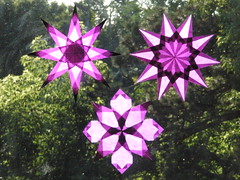
Trio of Purple Window Stars
Trio of purple window stars.
The pattern on the bottom is one I created.

Equally exciting for me was to see what window stars look like in different colors using patterns that I normally use.

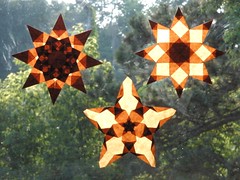
Trio of Brown Window Stars
Trio of brown window stars.

Two orange window stars.
I've made these patterns before, but never in orange.


The pattern on the left is one I've used before, and
the pattern on the right is a new one I created.

Two yellow window stars. The pattern on the left is one I created
and the one on the right is one I've made in different colors
but never in yellow until The Summer of Color challenge.

Creating a Quilt

My on-going project during the summer was a quilt. Each week, after the color was assigned, I created two quilt blocks that were about 11 1/2" square. Each square included seven different patterns of fabric - to represent the seven days of the week.

My goal was to use only fabric, thread, and batting that I had on hand.  This wasn't a challenge when I was doing the squares - it seemed like I had plenty of fabric to choose from.

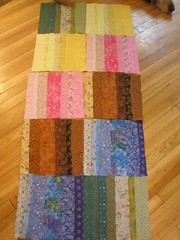
WIP - The Summer of Color Quilt
Five weeks' worth of quilt squares.


However, once I got to the backing and batting, it became a bit more difficult. I didn't have either the fabric or batting in the size I needed for the quilt. So, I had to piece both elements together to create the quilt.

The batting needed to be hand-sewn in order to attach each piece to one another (there were three pieces of batting used). For the quilt back, I used one of Sophia's floral-print sheets and cut about a six-inch section off the end.

By cutting that in length-wise and sewing the pieces together, I was able to create enough fabric to sew to the other piece...thereby creating a quilt backing.

Quilt squares bordered by 3" white fabric strips.
The white fabric strips are from
bed linens that were discarded from a hotel.
I washed the sheets and was able
to use the fabric to make the quilt.

What I like about the quilt is that it is made entirely from fabric, thread, and batting that I had on hand. I didn't have to purchase anything to make it!

The Summer of Color quilt that I made
during June-August 2011.

Lots of color will be welcome during the middle of winter
when the landscape is all white and
the temperature is well below zero.
Sophia, Olivia, and I will use this
soft, colorful quilt when
we homeschool and read together.

Wednesday, July 27, 2022

Giant Window Star

Every July and August, it is county fair time. Whether it is 4-H projects or open class projects, the girls and I have been competing in two local fairs now since Sophia was six years old - so 2007. 

For the past few years, I have chosen a complex window star from one of the pattern books I used to use when I sold window stars on Etsy. I haven't sold anything on Etsy since I was in a car accident several years ago and had serious neck and upper-shoulder issues which resulted in surgery.

At any rate, I looked at Pinterest to get some ideas for another window star pattern. I came across this pin which led to Conscious Craft. 

Window star I made. 
It took 512 folds to make this star!

There are quite a few window stars that are unique and beautiful on that website. The one that caught my eye is made up of 8 stars of varying sizes: 3 stars in the smallest size, 3 stars in the medium size, and 3 stars in the largest size. 

Each point of the stars uses the same pattern that has 8 folds. 

With 8 points (per star) multiplied by 8 folds per point multiplied by the number of stars in each grouping (see table below), it took a total of 512 folds to make this star. 

Paper Size      Number of Stars        8 Points x 8 Folds x The Number of Stars 

0.75”x1.5”                 3                                                192 

1.5”x3”                      3                                                192 

3”x6”                         2                                                128 

                                                                      Total folds: 512 

The smallest paper size is very challenging to fold. I have never folded anything that small - much less eight times. Needless to say, I was relieved when those 24 points were done. The medium paper size is easier to work with, yet still smaller than that with which I normally fold. The larger paper size is very easy to fold. 

To best see the folds and pattern of this star, hold it up towards the light.


Saturday, January 11, 2020

Two New Window Stars

One of my goals this year is to try two new window star patterns each month. I have quite a few patterns on my Pinterest origami board. The two I picked this month are below.

The first pin is of a yellow window star with the instructions in a different language. (The pin doesn't lead to a website.) I was able to see that the paper is cut to 7.5 cm x 8 cm. At least that gave the size which is important. To make the window star, I just followed the pictures.


I made the window star using blue kite paper, and it turned out like this:


The second pattern I did was of an eight-pointed star that led to Origami Maniacs:


I did the window star in purple and it turned out like this:


It was fun to try some new patterns. What I found out, though, was that my ability to do window stars for any prolonged period of time is no longer possible which essentially ends what I can sell in my Etsy shop.

Even after spinal surgery in October 2019 due to being rear-ended by another driver in November 2018 (it was his fault - he wasn't paying attention), the ability to keep my neck in the position it needs to be still hurts and limits what I can do. At least I can make a couple stars here and there for my family or gifts.

Saturday, November 9, 2013

Window Star Lantern (Tutorial) + St. Martin's Day - Art Every Day Month - Day 9

I've been making Waldorf-inspired window stars for several years now. However, the only way I've displayed them is on windows where the sun's rays shine through the translucent paper and illuminate the pattern of the stars.

At night, the window stars are rather dull looking since there's no light to reveal the pattern. That is until I saw a pin that led to River Blissed that showed an alternative way of displaying window stars.

Basically, I made a very small window star out of German kite paper. I chose red, orange, gold, and yellow paper to tie in with the fall nature table we have.

The window star lantern that I made is on the right.
Two lanterns in the back that Sophia and Olivia made
years ago that use tissue paper and Mod Podge.

I chose a canning jar from the empty jars I have on hand. Any jar would be fine to use - even ones that once held food (e.g., peanut butter, jam, olives). Then, I found a piece of very thin translucent paper to cover the entire jar. I used Mod Podge to affix it to the jar.

The lantern with the translucent paper covering the jar,
and the window star Mod Podged on top of the paper.

Then, I attached the window star, also using Mod Podge. One thing I noticed that is different from hanging the stars on the windows is that the star with Mod Podge on it has wrinkles in it. It's not a huge deal when looking at the lantern from afar. However, from a crisp/precise standpoint, it no longer looks like the window stars that I make.

After letting the Mod Podge dry, I put a candle inside the jar. This is the result:

Lantern on the nature table.

This is one of the lanterns that I have made during Art Every Day Month in preparation for St. Martin's Day, which is on November 11th. St. Martin's Day also is known as the Feast of St. Martin, Martinstag, or Martinmas.

Historically, it has been a time for feasting celebrations because it was when autumn wheat seeding was completed, and the annual slaughter of fattened cattle produced "Martinmas beef." In addition, hiring fairs were held where farm laborers would seek new posts.

November 11 is the feast day of St. Martin of Tours, who originally was a Roman soldier, and then was baptized as an adult and became a monk. He was a kind man who led a simple and quiet life.

The most famous legend of his life is that he once cut his cloak in half to share with a beggar during a snowstorm, to save the beggar from dying of the cold. That night he dreamed that Jesus was wearing the half-cloak Martin had given away. Martin heard Jesus say to the angels: "Here is Martin, the Roman soldier who is not baptized; he has clothed me." St. Martin became known as friend of the children and patron of the poor.

The holiday of St. Martin's Day originated in France, and then spread to Germany, Scandinavia, and Eastern Europe. It celebrates the end of the agrarian year and the beginning of the harvesting.

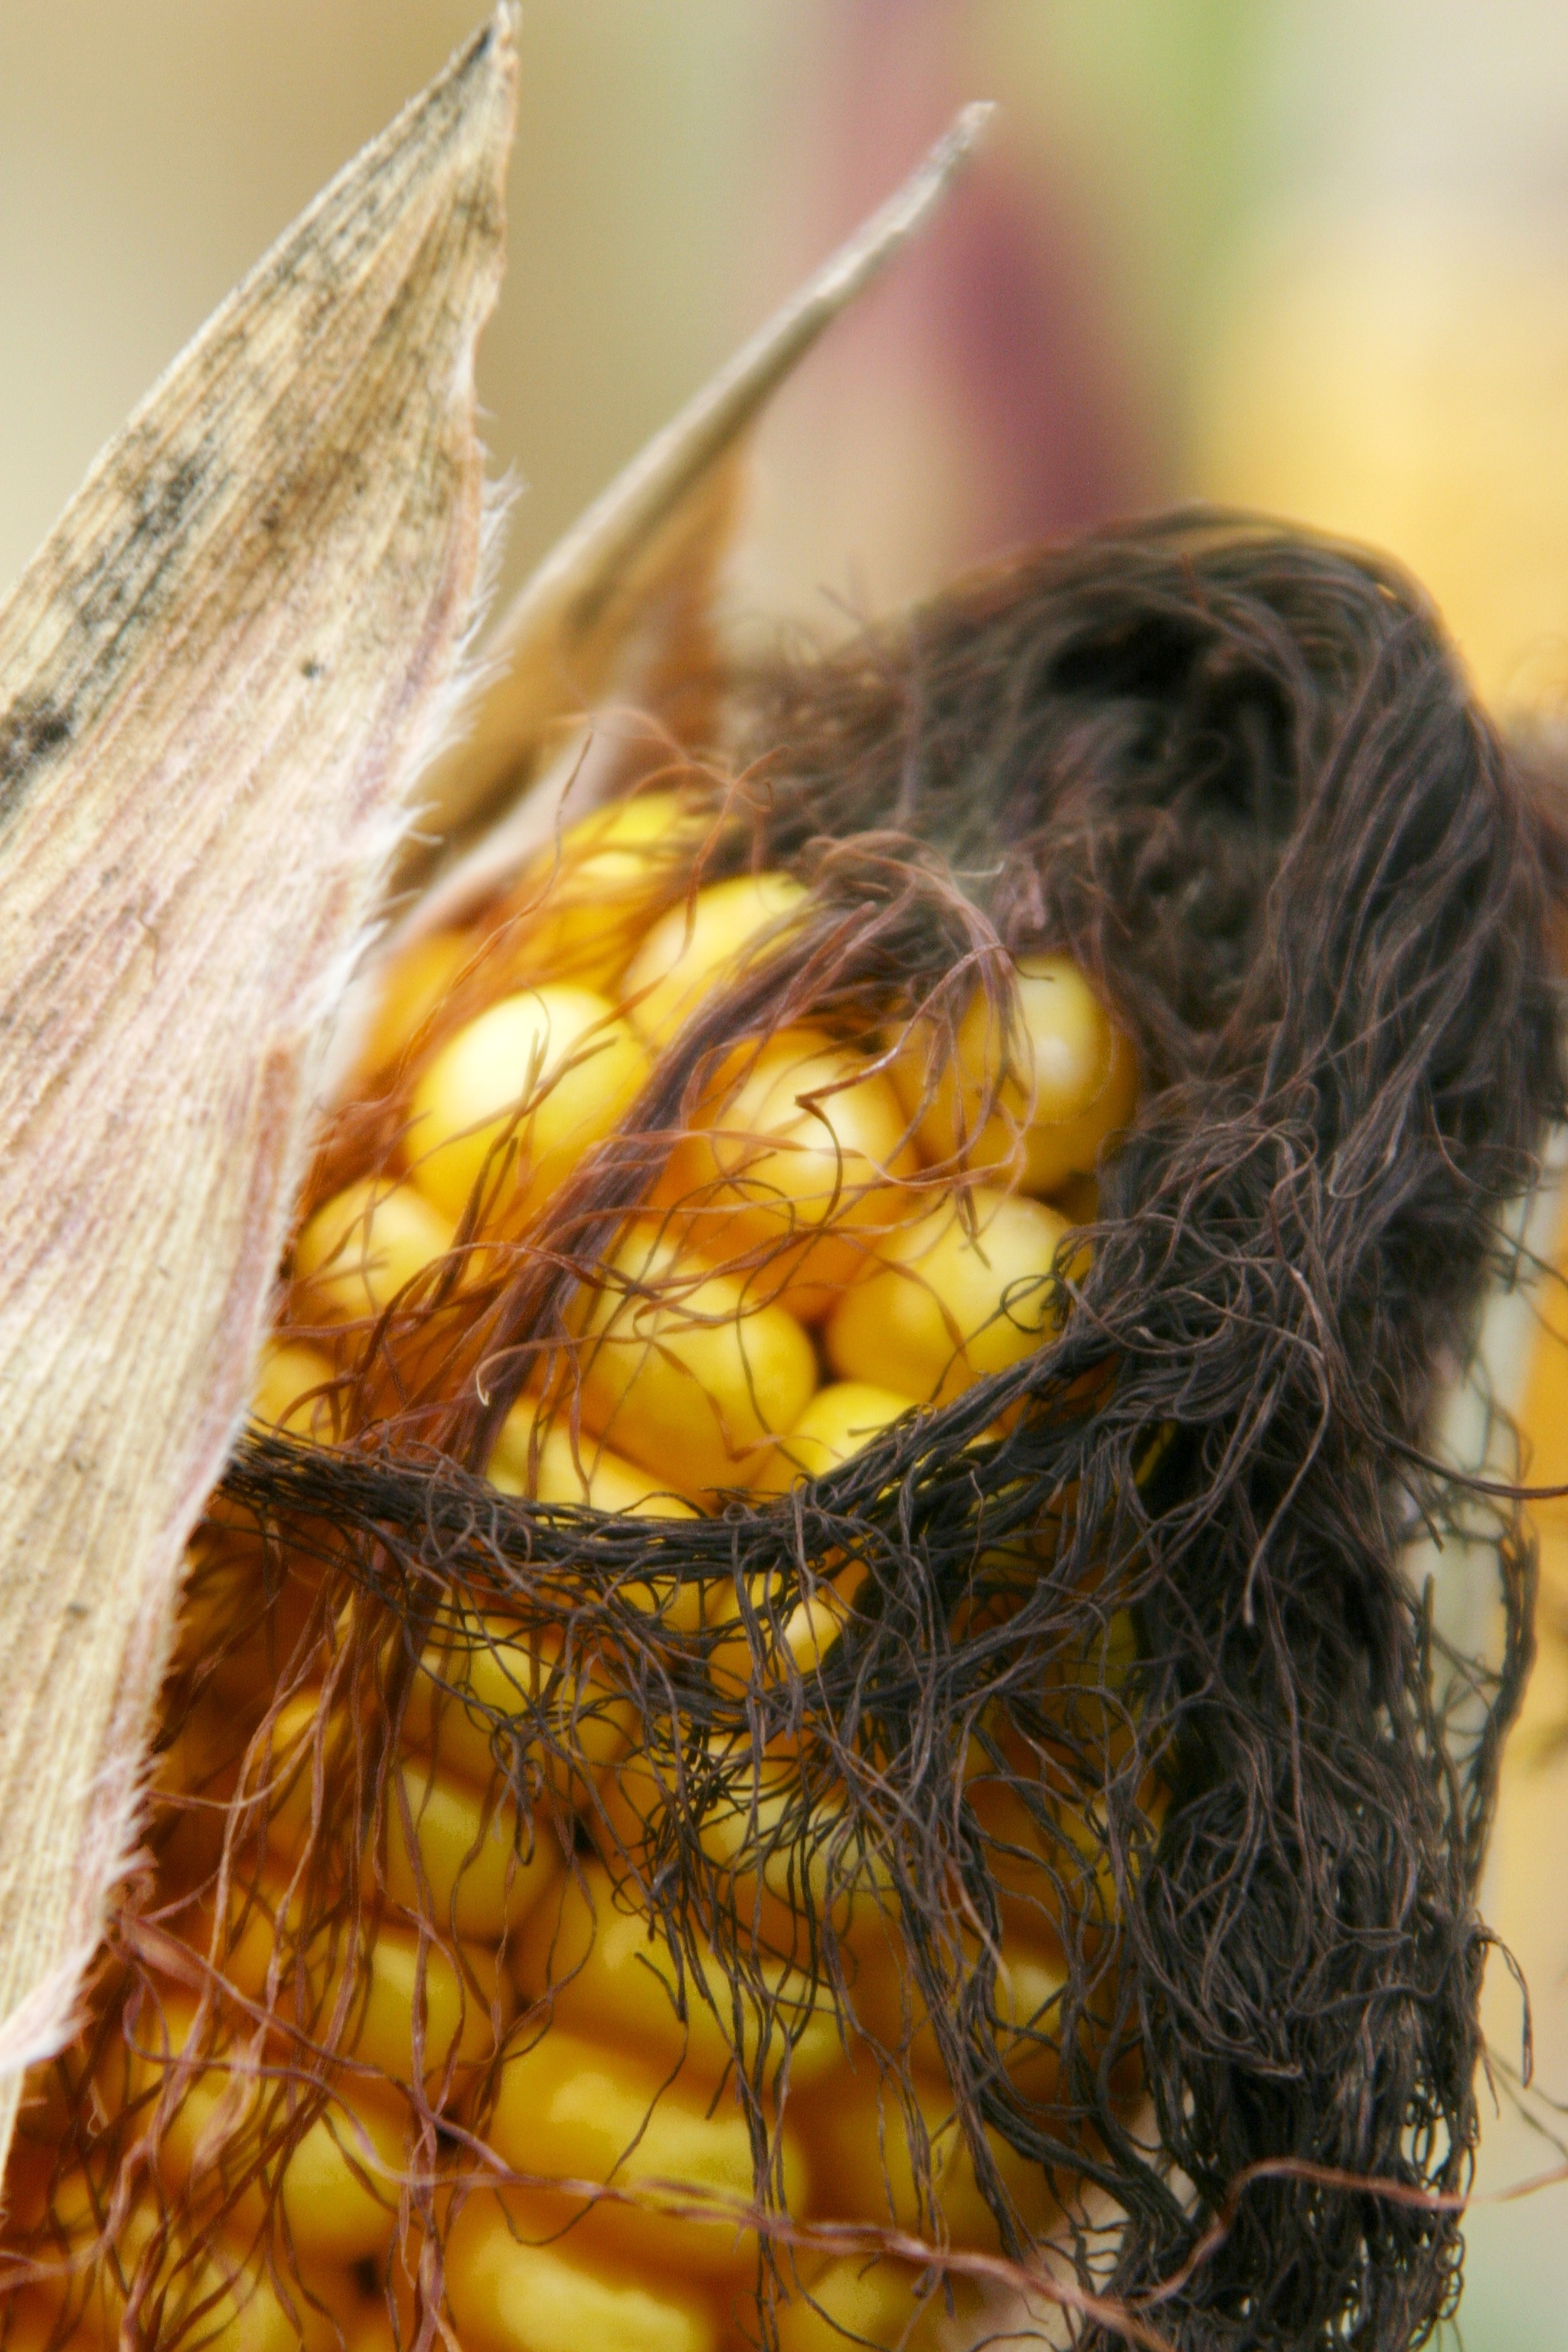
Field corn and tassel
Field corn in a neighbor's field that is 
ready to be harvested.

Although the holiday is celebrated in many countries, I am particularly interested in German customs since that is where the majority of my ancestors are from. A widespread custom in Germany is bonfires on St. Martin's eve, called "Martinsfeuer." At one time, the Rhine River valley, would be lined with fires on the eve of Martinmas.

In the Rhineland region, Martin's day is celebrated traditionally with a get-together during which a roasted suckling pig is shared with the neighbors.

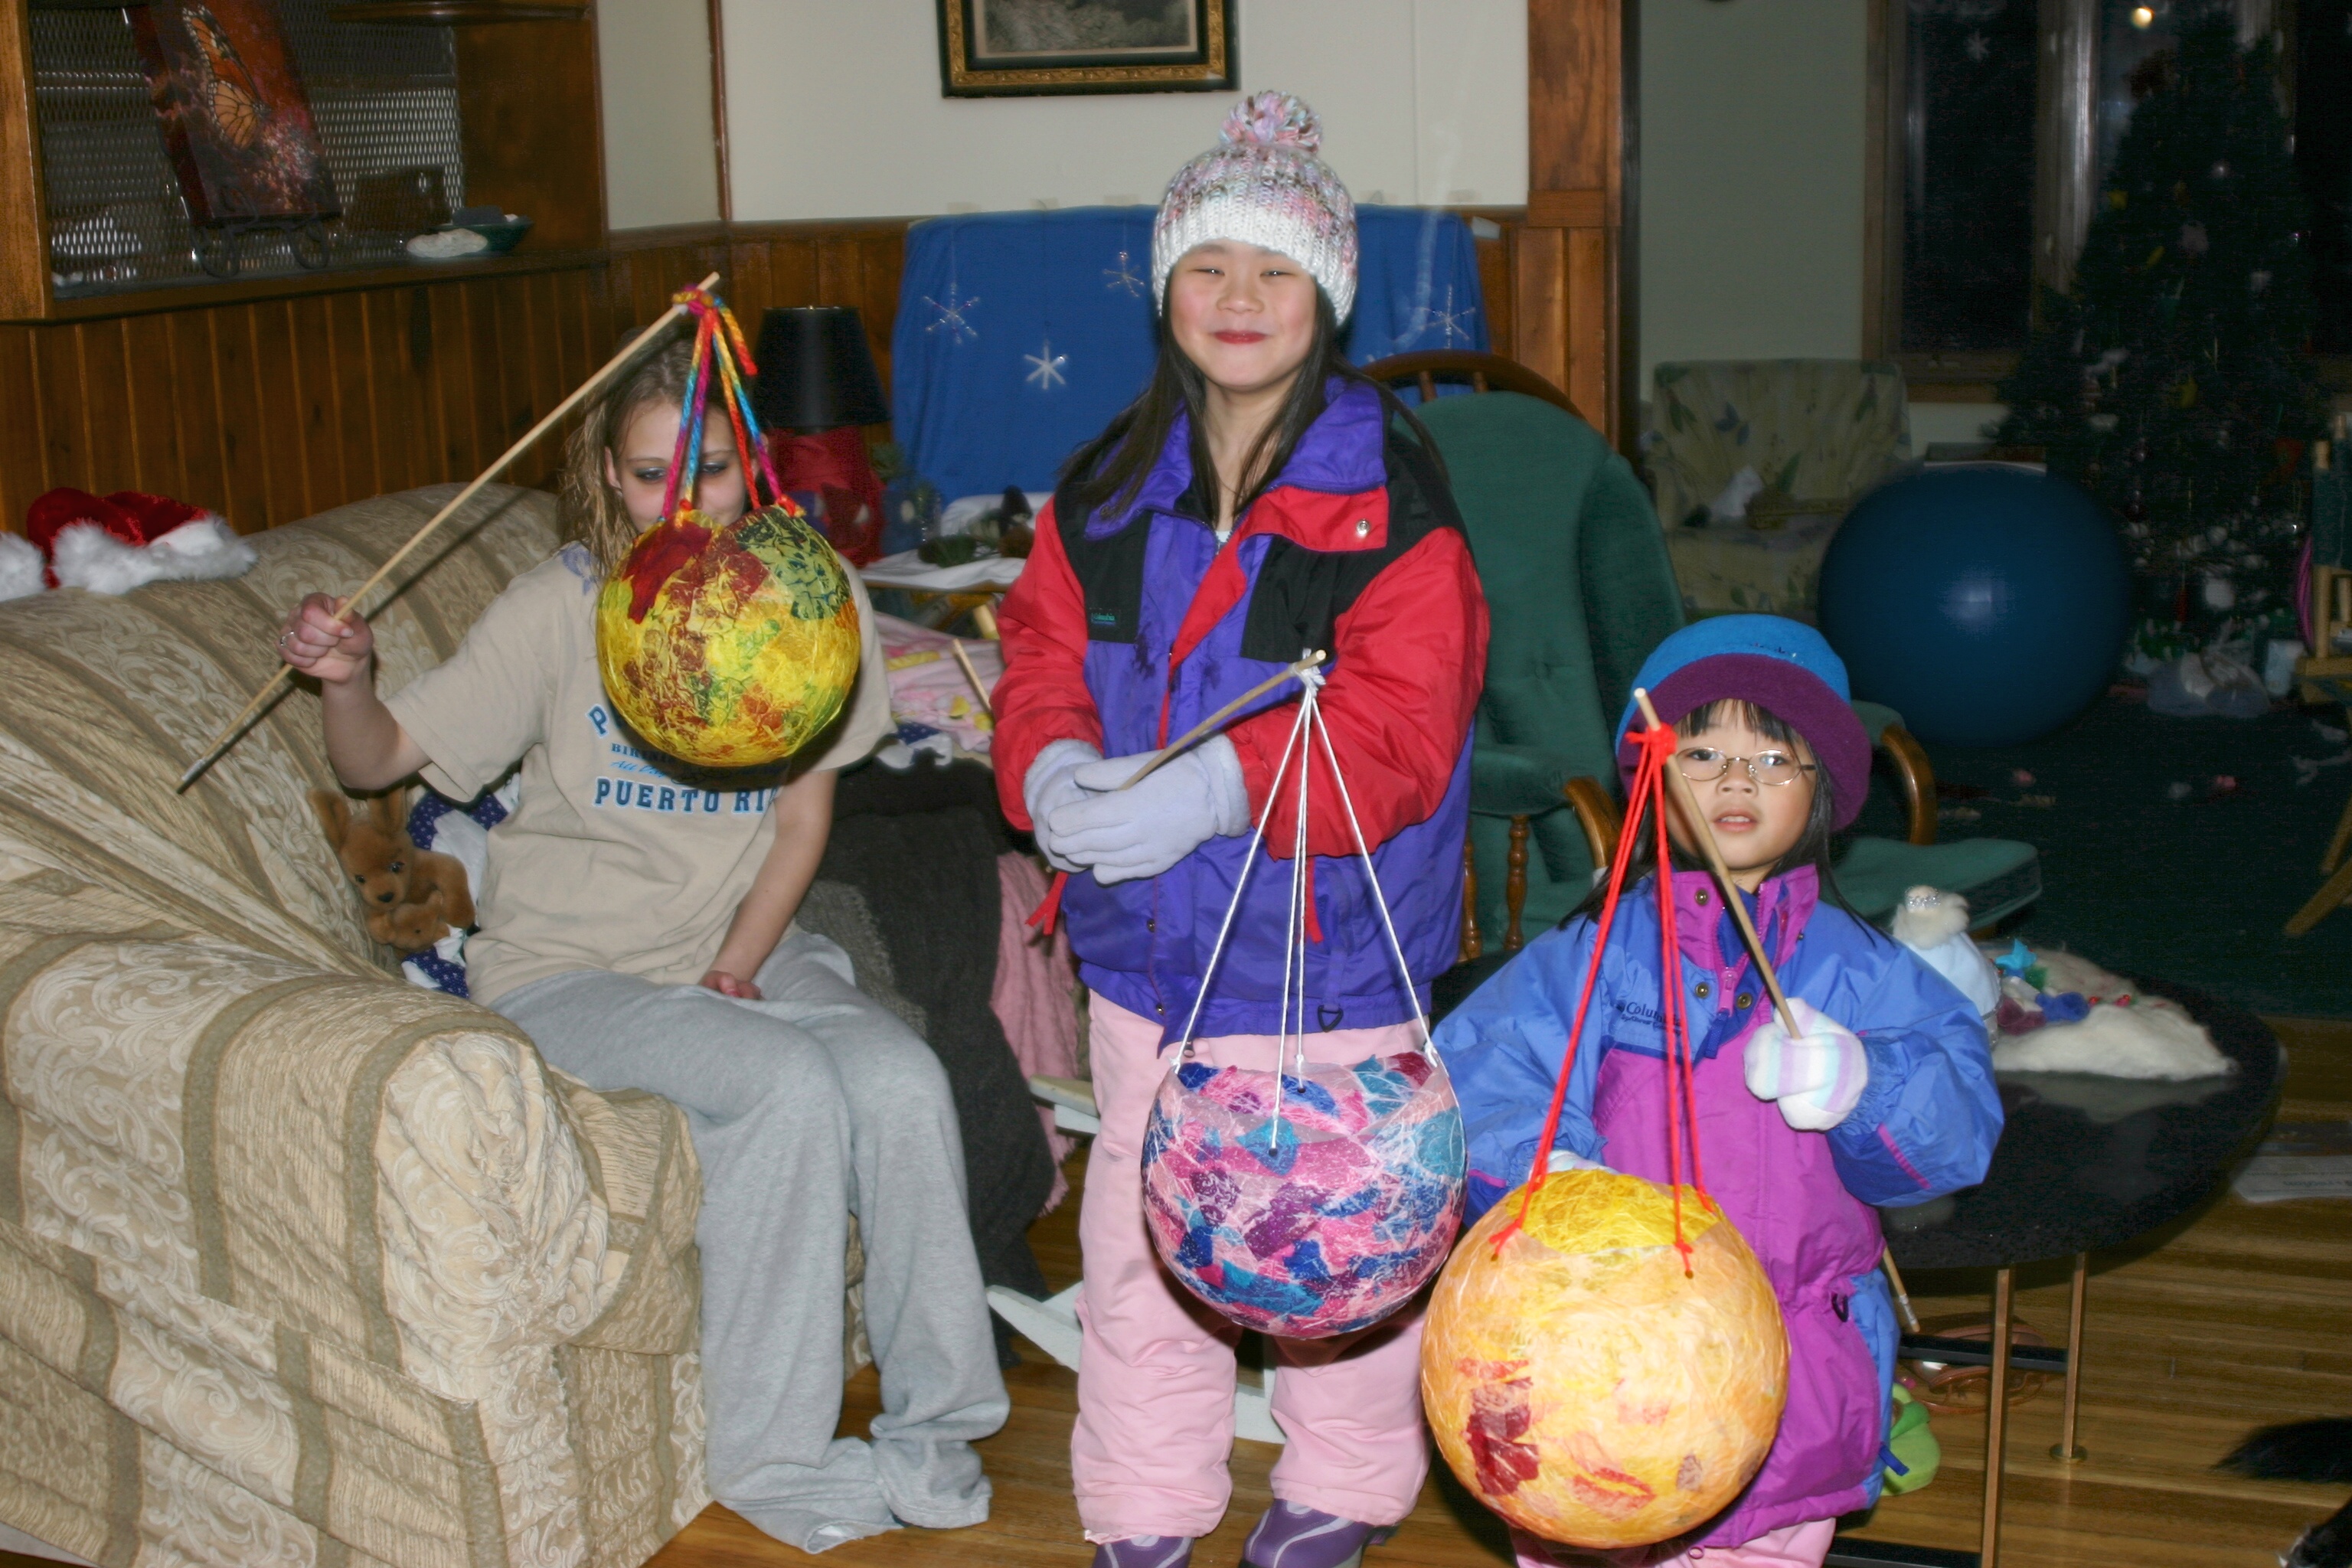
The nights before and on the night of November 11, children walk in processions carrying lanterns, which they made in school, and sing Martin songs.

The Girls and their cousin Ashley with Balloon Lanterns
Sophia and Olivia with their cousin, Ashley, in December 2007
with balloon lanterns that they made.

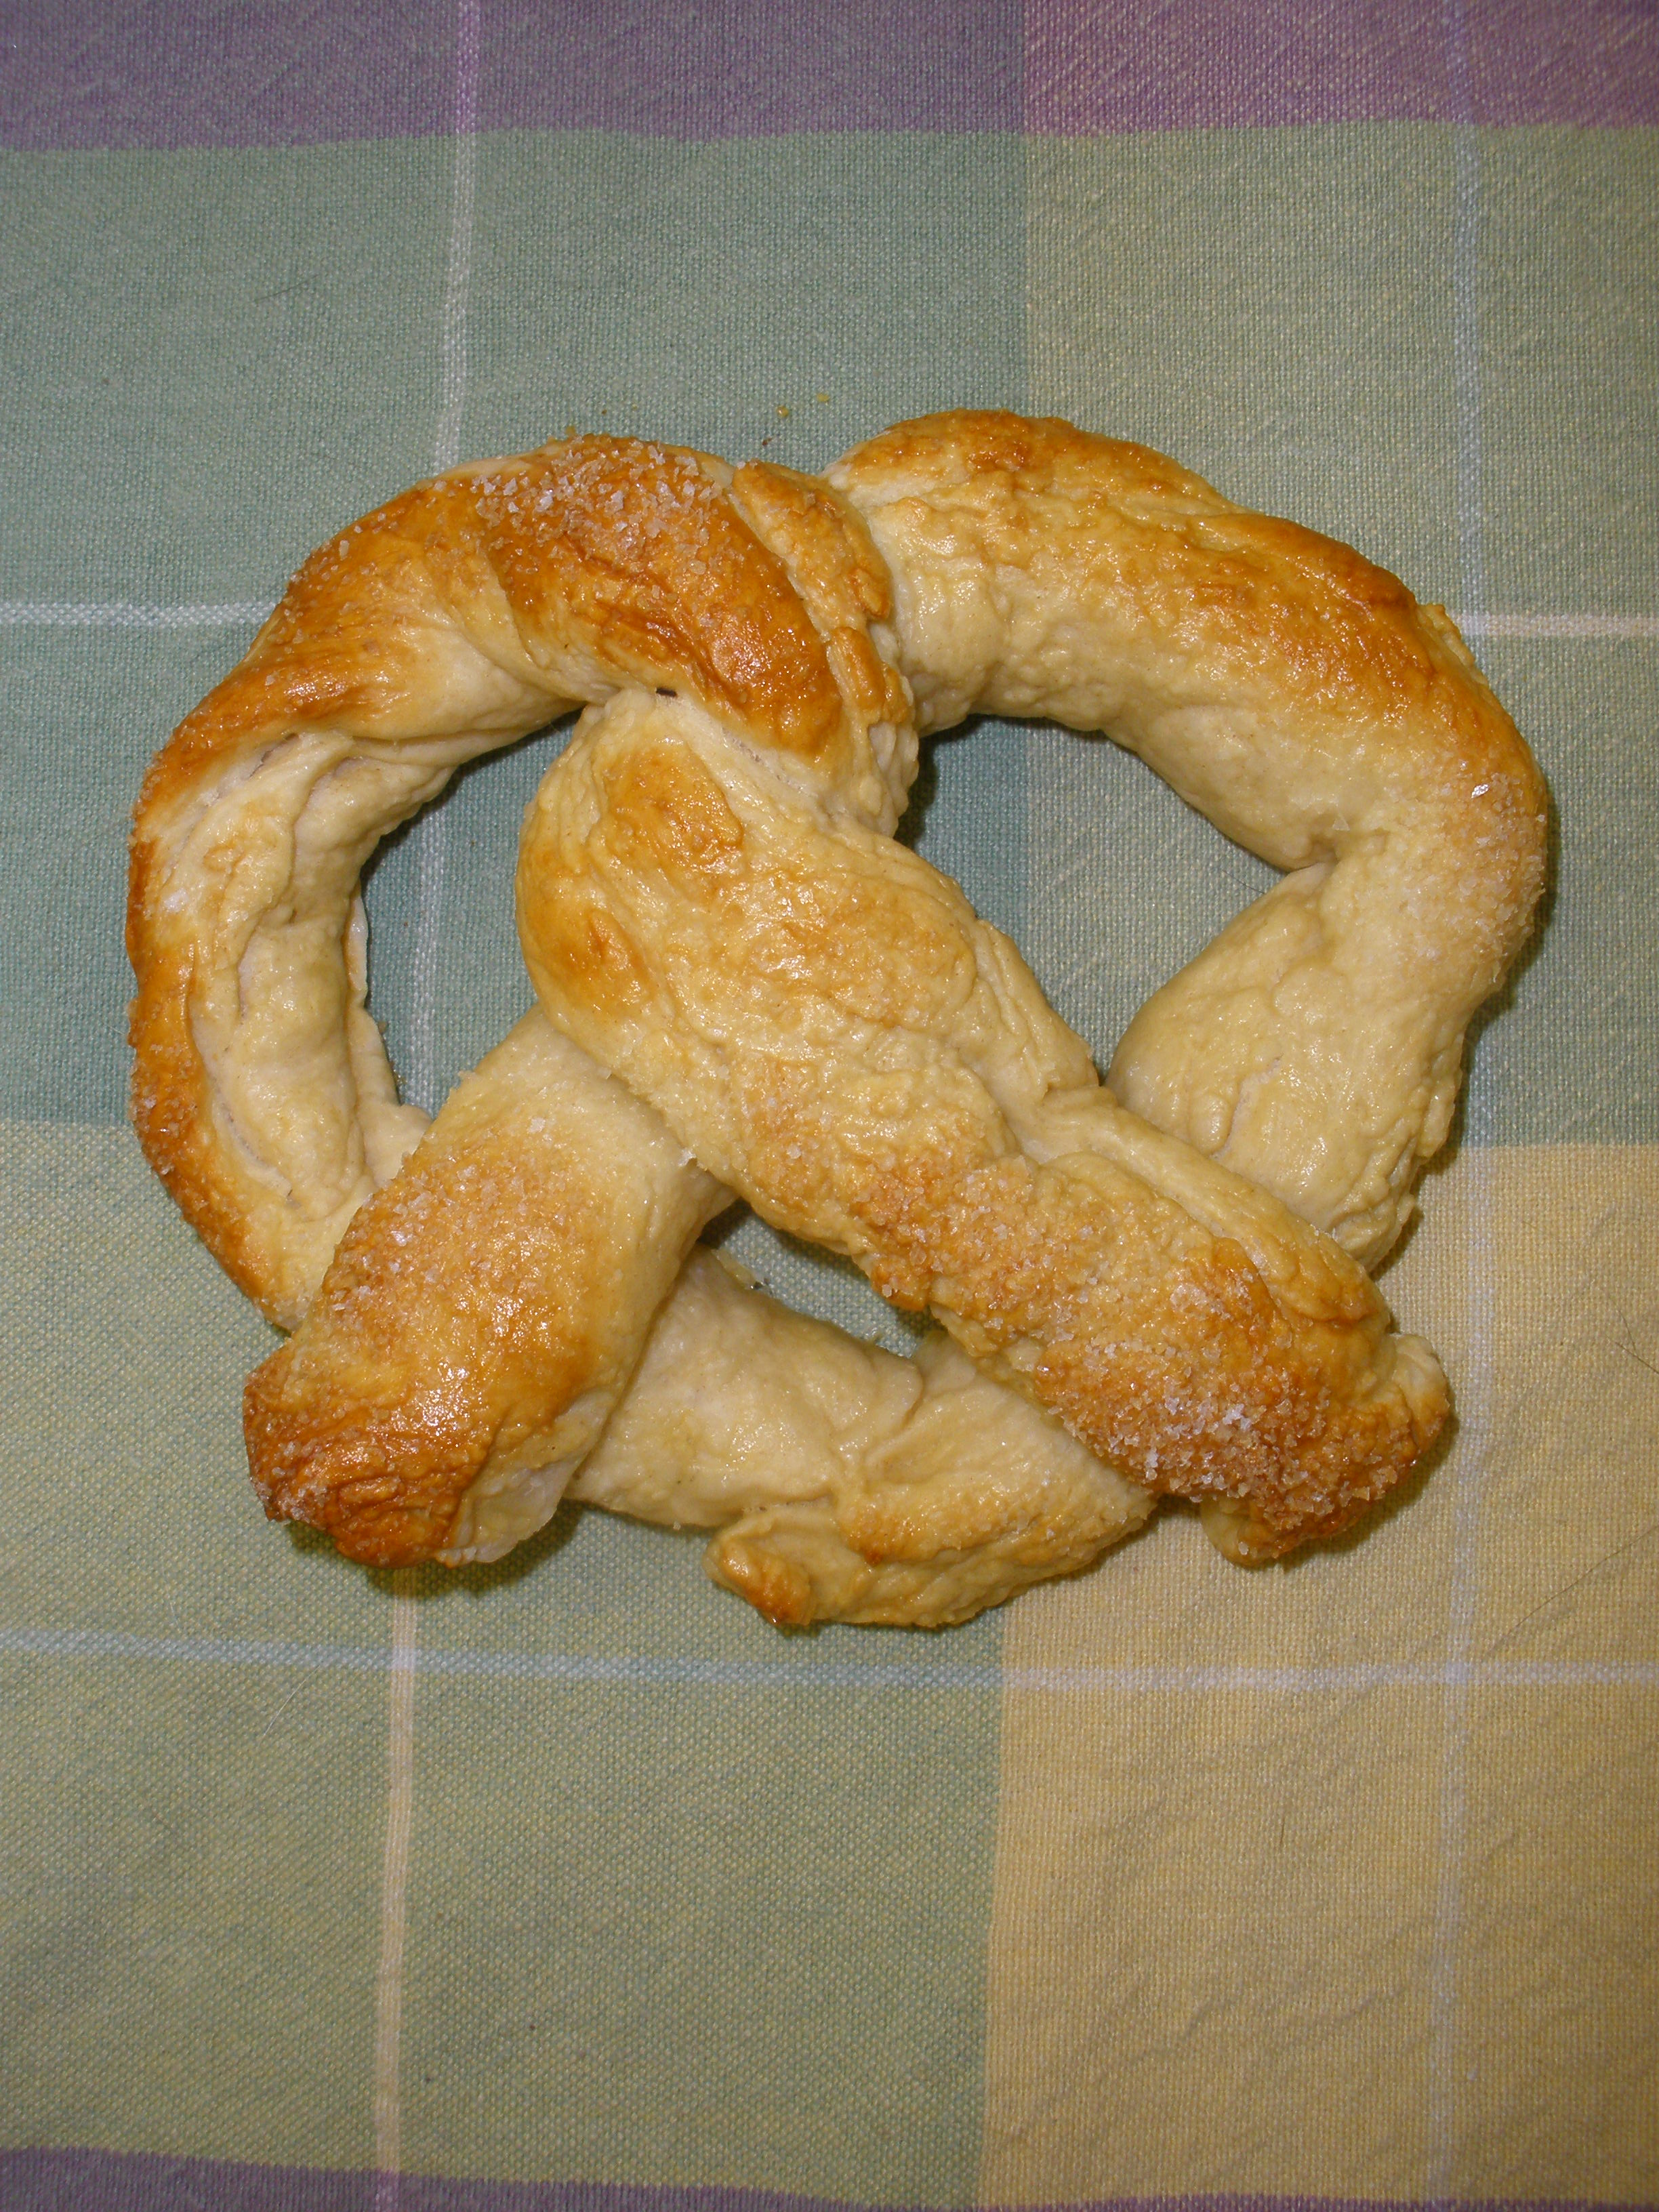
Usually, the children begin their walk at a church and then go to a public square. A man on horseback dressed like St. Martin accompanies the children. When they reach the square, Martin’s bonfire is lit and Martin’s pretzels are distributed.

Homemade Pretzel
Homemade pretzel that the girls made in 2009.

In some regions of Germany (e.g., Rhineland, Bergisches Land) in a separate procession the children also go from house to house with their lanterns to sing songs and get candy in return.

The origin of the procession of lanterns is unclear. To some, it is a substitute for the St. Martin bonfire, which is still lit in a few cities and villages throughout Europe. It formerly symbolized the light that holiness brings to the darkness, just as St. Martin brought a hope to the poor through his good deeds.

Even though the tradition of the large, crackling fire is gradually being lost, the procession of lanterns is still practiced.

Thursday, April 2, 2020

Window Stars for Easter

I made three new window stars for Easter as part of my 2020 goals. Although I'm no longer making window stars to sell through my Etsy shop due to continued pain from the car accident in November 2018, I still like to make window stars here and there for holidays.


The first one is a blue window star that I saw on Pinterest. I realized that I had already tried this pattern when I looked at the pin. (I made it in red the first time I made this window star.)


My version of this star for Easter is in pink and is made from 3"x5" paper:


The second pattern I tried, also a pin on Pinterest, I also used 3"x5" paper. Once I got to the third step (pictured on the left below), the folds were a bit more challenging due to the multiple layers of paper. Perhaps a larger size paper would have been easier to fold (maybe 4"x6"). 


I made this star in yellow so all the details could be seen in the points. With a darker paper, the details would have been lost. 


The third pattern is one that Olivia tried and she wanted to see if I could make because her window star didn't turn out like she wanted it to look. The pattern is pinned and leads to a video on YouTube:


This paper uses 8 squares that are 3 1/4" x 3 1/4". This is how my window star turned out using the pattern on the video: