
Halloween Candy Corn Pretzel Bark

Candy Corn Pretzel Bark that we made.
We still have quite a few pretzels on hand - even after using them for other recipes during the past few days on the Countdown. So, the pretzel bark is a great way to use up a couple more cups of them.
The recipe came from a pin on Pinterest that led to Very Culinary. It makes enough for 24-36 people if broken into 2-3 inch pieces - so a good recipe for sharing with others or even dividing by half or quarters if it is just to be eaten by a family.
There are only three ingredients needed:
24 ounces white chocolate baking squares, chopped
2 cups thin salted pretzel sticks
2 cups candy corn
To make the Candy Corn Pretzel Bark, first line a baking sheet with waxed paper or parchment paper. Then place white chocolate in a medium glass microwavable bowl and melt in the microwave for 30 seconds minute; stir. Microwave at additional 15 second intervals, stirring until smooth.
Break pretzels into small, bite-size pieces.

Olivia and Sophia breaking the pretzels
into smaller pieces.
Add pretzels and candy corn candies to melted chocolate.

Olivia adding the candy corn to the pretzels.
Cooper is looking on...hoping for a fallen candy or pretzel.
Stir all the ingredients until they are well combined.

Sophia stirring the chocolate, pretzels, and candy corn together.
Spread onto the lined baking sheet. Press in additional pretzels and candy corns for added color, if desired.

The mixture spread out on a baking sheet.
Chill in the freezer for 15-20 minutes until set. Break into pieces. Refrigerate the Candy Corn Pretzel Bark in an airtight container.
Candy Corn Popsicles
The next recipe we made was Candy Corn Popsicles. The pin for the recipe links to The Girl Inspired.
There are three layers in the popsicles:
- Vanilla yogurt
- Orange juice
- Pineapple juice

Sophia and Olivia putting spoonfuls of yogurt
into each popsicle holder.
Let each layer freeze up for about 15-30 minutes or so before adding the next layer. After the third layer, add the popsicle holder and freeze overnight.
The original recipe called for plain yogurt mixed with honey or agave. We just used the vanilla yogurt without any additional sweeteners.
The pin showed the orange juice and pineapple juice with food coloring so the colors were more dramatic in the picture. In reality, uncolored orange and pineapple juice are very similar in color. There's not a huge difference - so the colors of our popsicles aren't as differentiated as the ones in the pin.
Nonetheless, they are a tasty and healthy treat for after a meal.
Candy Corn Candle Holders

Olivia with the candy corn candle holder
she put together.
On Monday, Sophia, Olivia, and I are helping make pumpkin bars at the nursing home with some of the residents. We are bringing some centerpieces to make the tables a bit more festive and Halloween-inspired.
So, one of the ideas for a centerpiece was shown on Pinterest. The pin simply led to a picture. However, the concept is simple enough: pour candy corn into a vase, glass, or other clear container.

The girls pouring candy into glass vases.
Place a candle in the center - either orange, gold, or white.

Sophia holding her candle holder.
Cooper is holding a rug in his mouth.
He does that when he wants to have whatever
someone is holding in their hand...like a token in exchange for food.
He believes Sophia would appreciate a rug
in exchange for candy corn and a candle.
That's it! Simple, festive, and something unexpected.
Costume Alteration
As Halloween nears, Sophia has been getting nervous about me not starting alterations on her costume. She found a wedding dress that I am changing into a gown for her Snow Queen costume.

Sophia in the dress before I altered it.
The length of the dress needs to come up without losing all the beading work and decorative edge along the bottom of the dress. Then...somehow...feet and more feet of the train need to hide in the dress to transform it from wedding dress to gown.
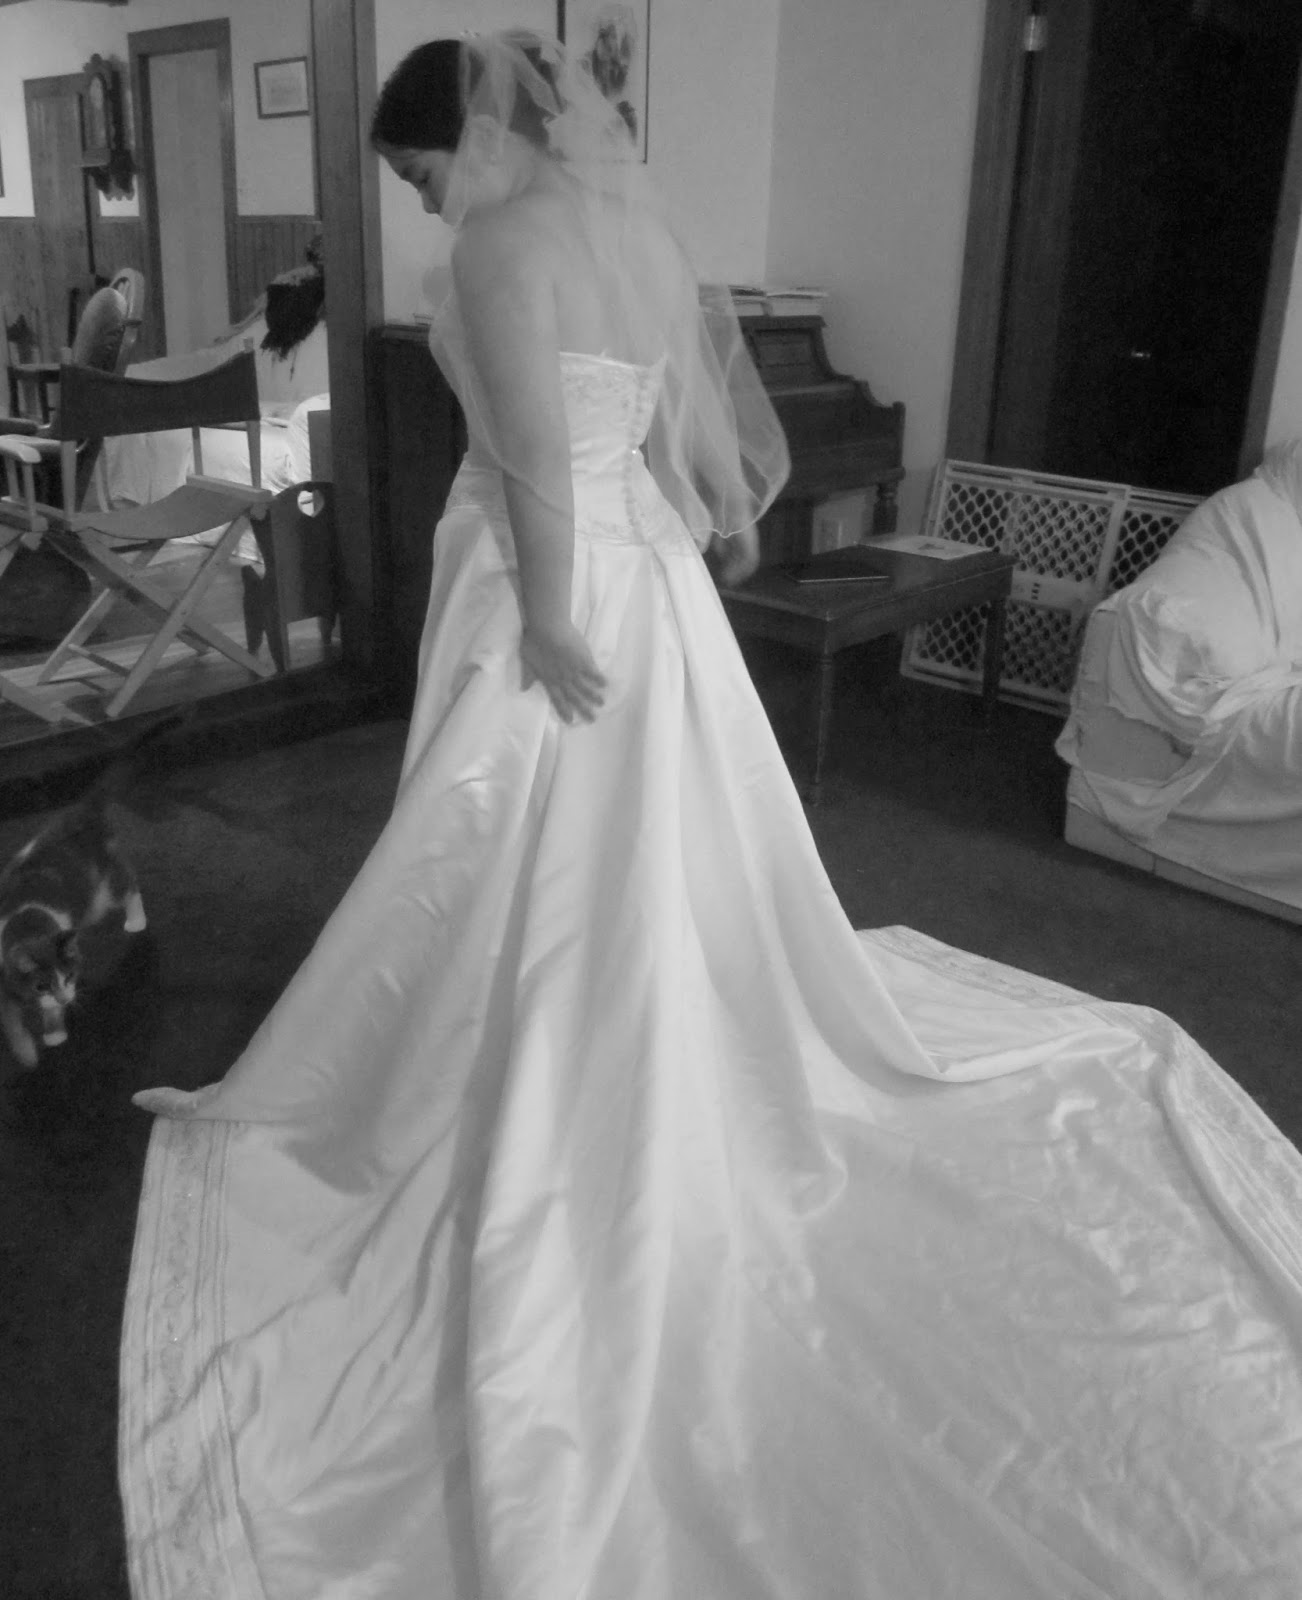
This is the back of the dress that needs to be hidden.
She tried it on with a veil the night she got the dress.
The easiest part: taking out some of the crinoline that made the dress puff out.

This is before the crinoline came out.
The beading work along the bottom of the dress
also is a bit more visible here.

The bodice is nicely fitted.
It will be covered with a faux-fur cape when the costume is completed.
No comments:
Post a Comment